INCREDIBLE HORIZONS 
Superscript

Kitchen Science

This is a block description. To edit, click and type the text or replace it with your own custom content

Experimental and Crazy Concocting

11 Magic Potions That Kids Will Love

potions for kids

iStock

Part classic science experiment, part Harry Potter, the following concoctions are safe for kids and totally fun to mix up. From fizzing and foaming to bubbling and bewitching, these magic potions for kids can be whipped up in no time. Looking for even more spooky fun? Try your hand at some Halloween crafts, tell kid-friendly ghost stories, and read these witch books that are only a little bit wicked!

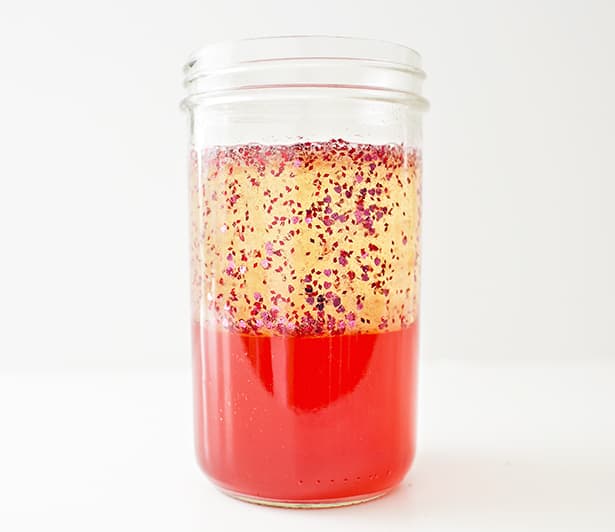
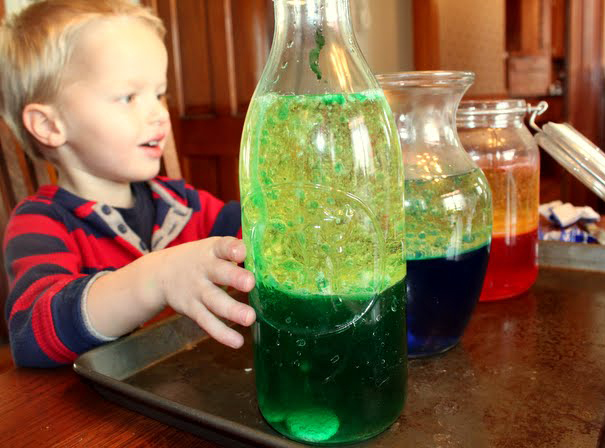
Love Potion Lava Lamp

potions for kids

Agnes Hsu via Hello, Wonderful

Part love potion, part lava lamp, we're crushing on this concoction from Agnes at Hello, Wonderful. Using simple ingredients you probably have in your pantry, you can whip up your version in no time. 

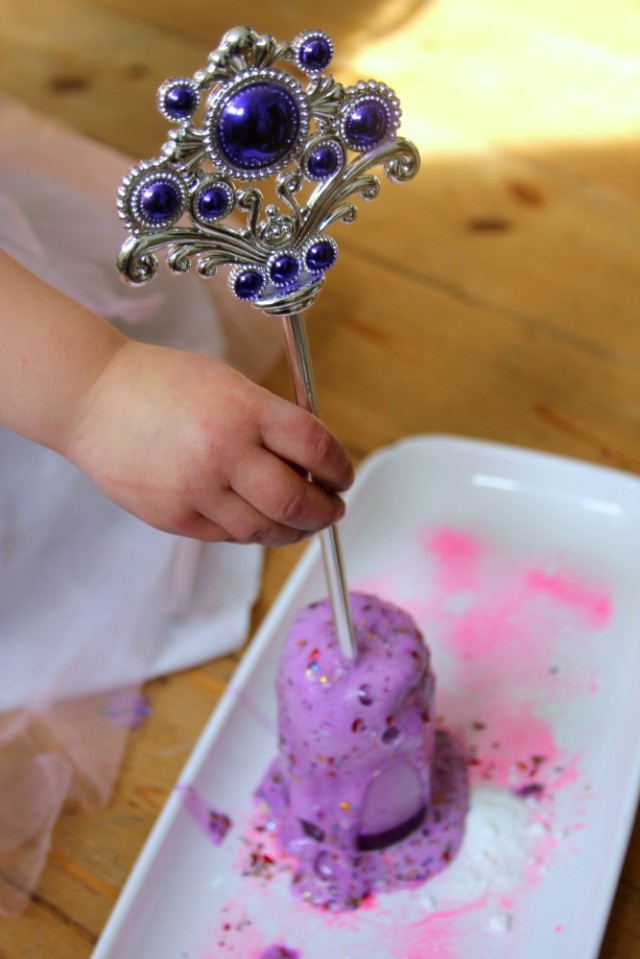
Fizzy Fairy Potion

Anna Ranson via The Imagination Tree

Little fairies will love this fizzy potion that sparkles too! We love that you only need five basic ingredients and, of course, a wand for stirring. Get all the details from Anna over The Imagination Tree.

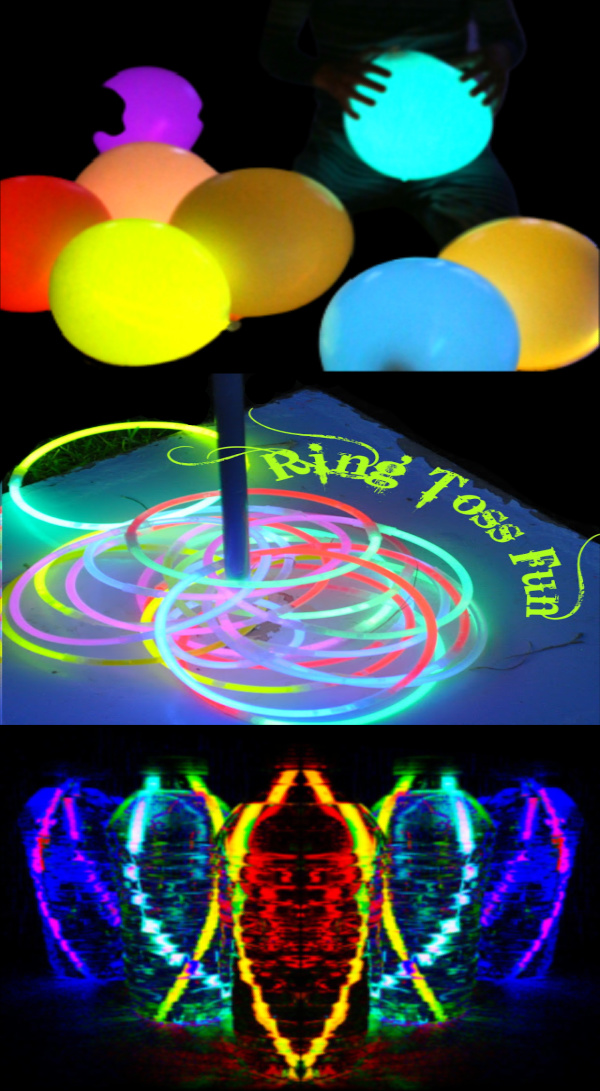
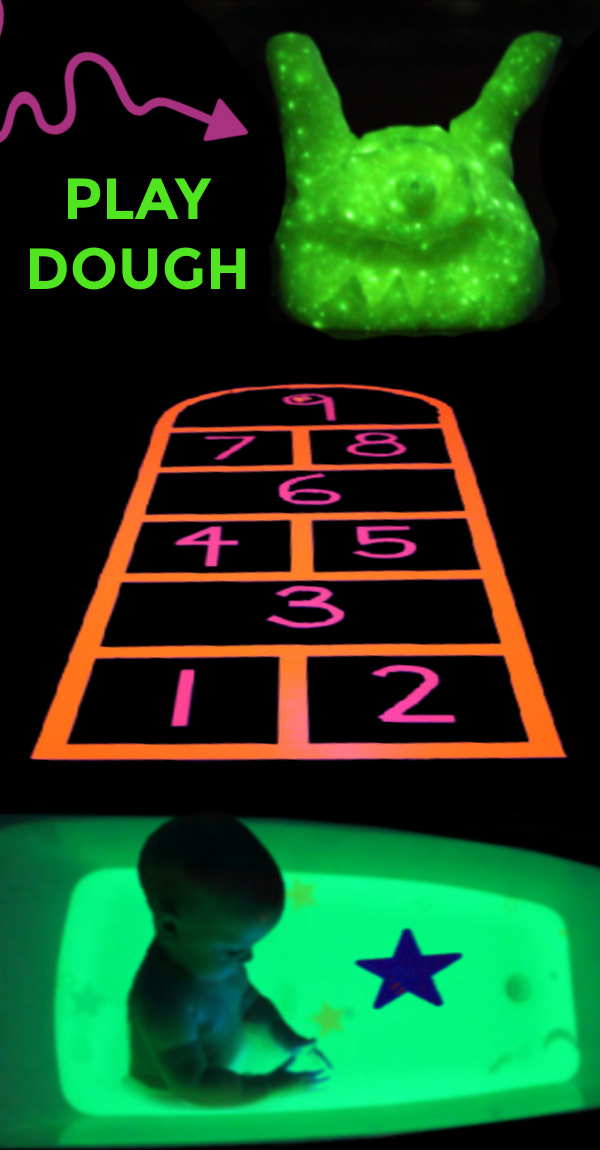
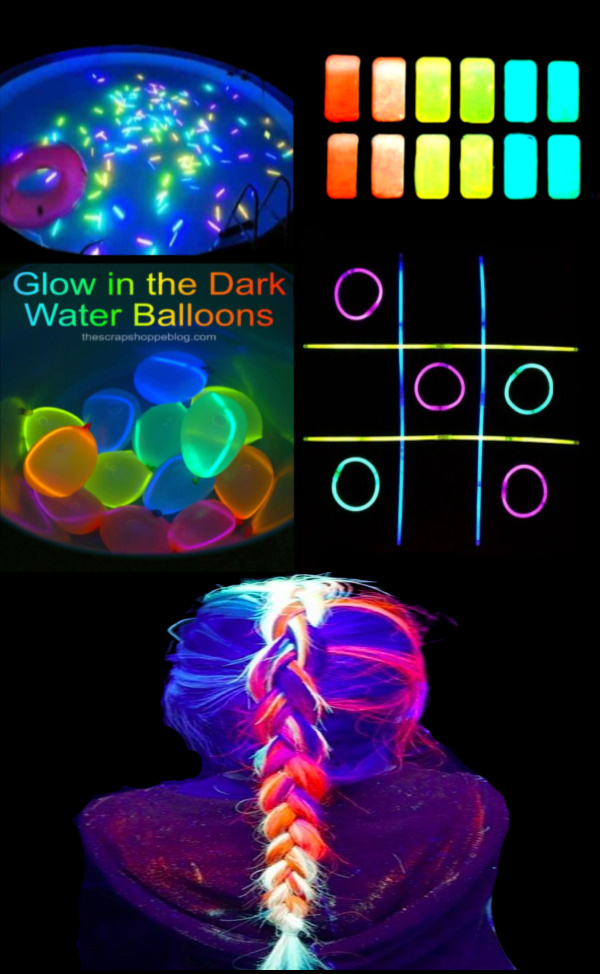
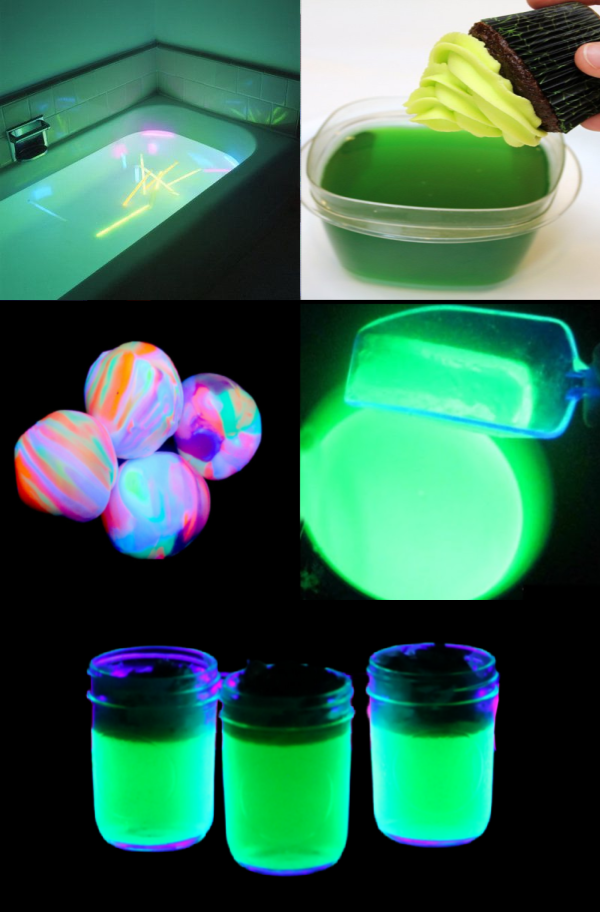
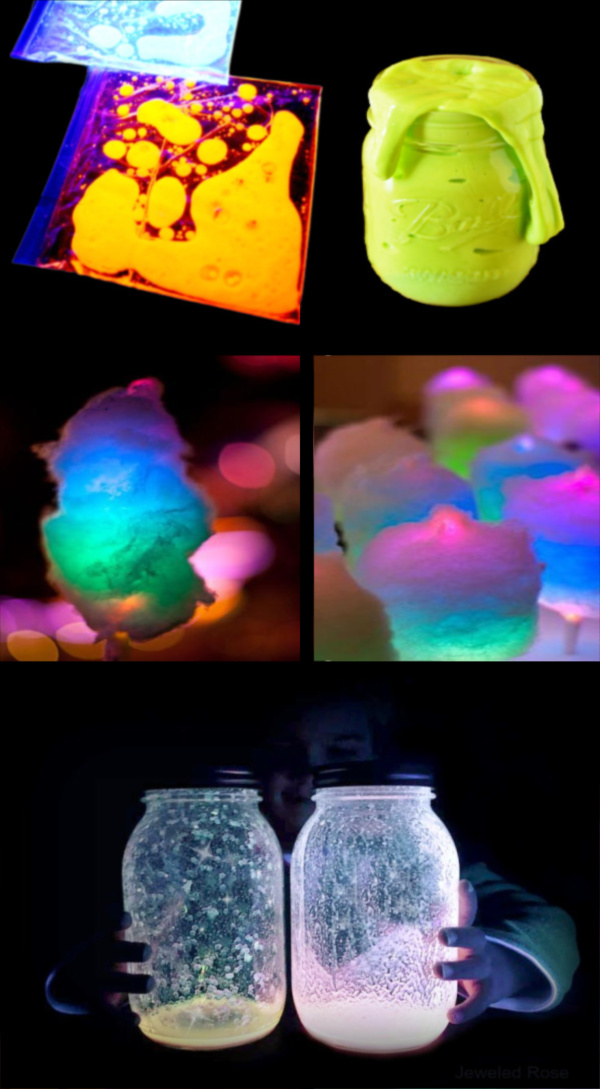
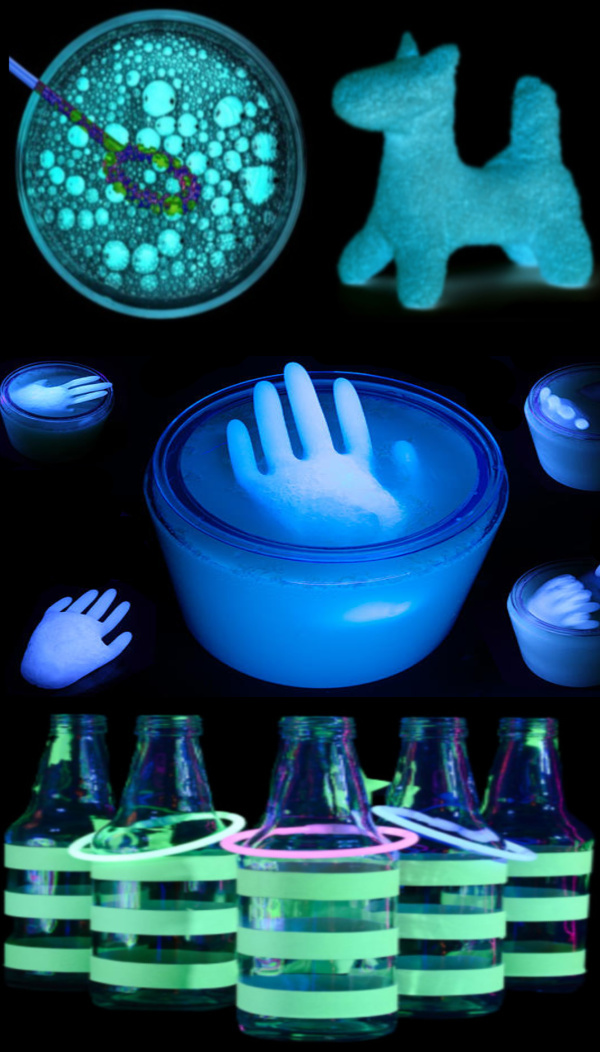
Related: 6 Glow-in-the-Dark Science Experiments to Try Tonight

Advertisement

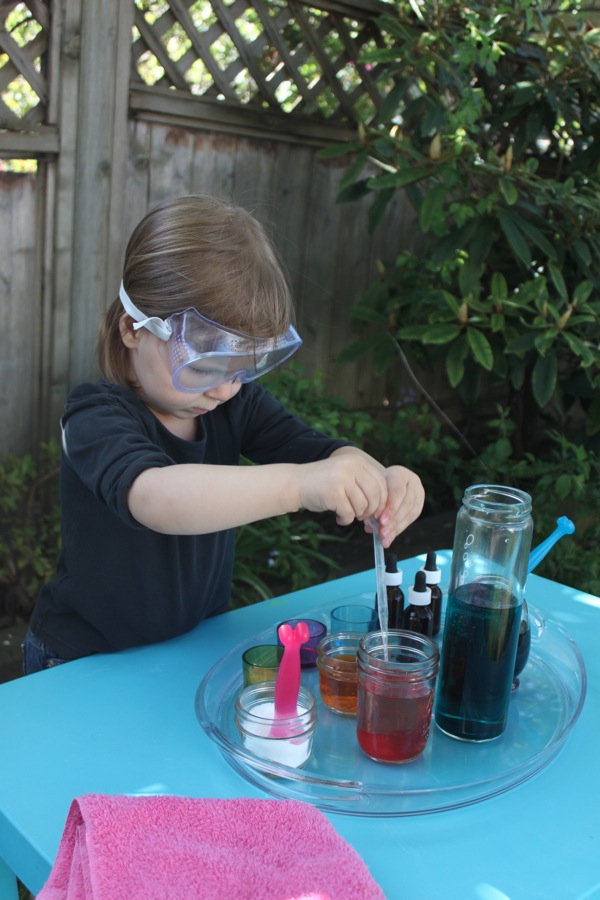
Mad Scientist Potion

potions for kids

Mama.Papa.Bubba

This simple outdoor session is just lots of good (not so) clean fun. Find out what mama Jen used to set it all up over at Mama.Papa.Bubba

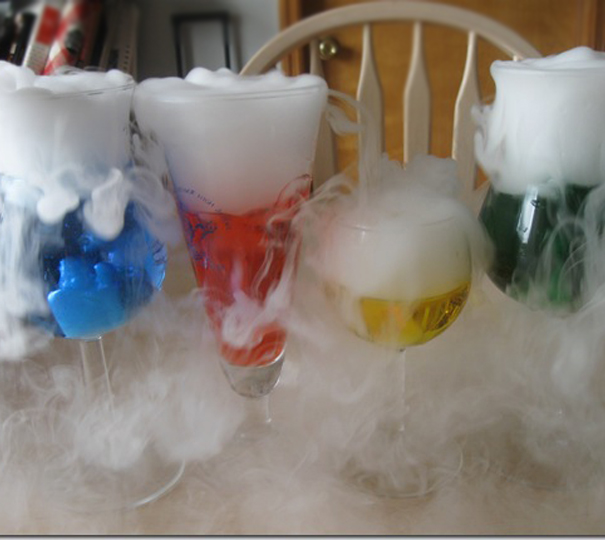
Witches Brew

Upstate Ramblings

White clouds of witches brew make these colorful drinks other-worldly. Dry ice is the key to this cool effect (with parent supervision, of course); hot water and soap can thicken the spell. Bubble over to Upstate Ramblings for the tutorial.

Related: 20 Sidewalk Science Projects to Try Outside Today

DIY Lava Lamp

potions for kids

Hands on as We Grow

A little more effervescent than the lava lamp of the '60s, this potion made from oil, water, and Alka-Seltzer will get your kiddos all bubbly. These elixirs are easy-to-do and exciting to watch. Jamie from Hand On As We Grow has the instructions.

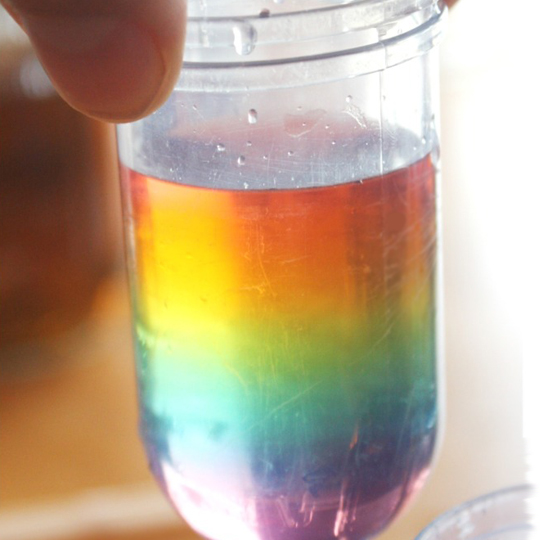
Rainbow Potion

Little Bins for Little Hands

Sweet and colorful, this sugary brew makes the gradient with sugar, water, food coloring, jars and a dropper. Your little wizard will be amazed at these layers. Pop-on over to Little Bins for Little Hands for the directions.

Related: Mason Jar Science: Slimy, Squishy, Super-Cool Experiments

Advertisement

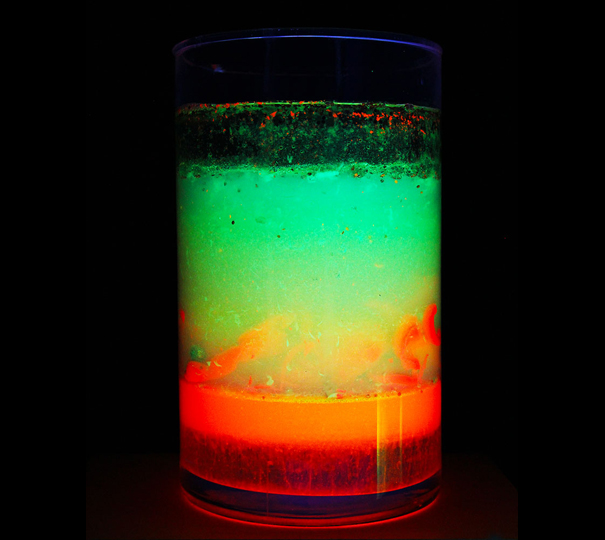
Glow-in-the-Dark Potion

potions for kids

Ana Dziengeli via Babble Dabble Do

Just glow with it. Potion-masters-in-training will need a little help from parents on this one, but the effort is worth the glow-in-the-dark effect. Ana Dziengel at Babble Dabble Do mixed corn syrup, baby oil, and water with a few "magic" ingredients for a luminous potion that doubles as a science experiment. 

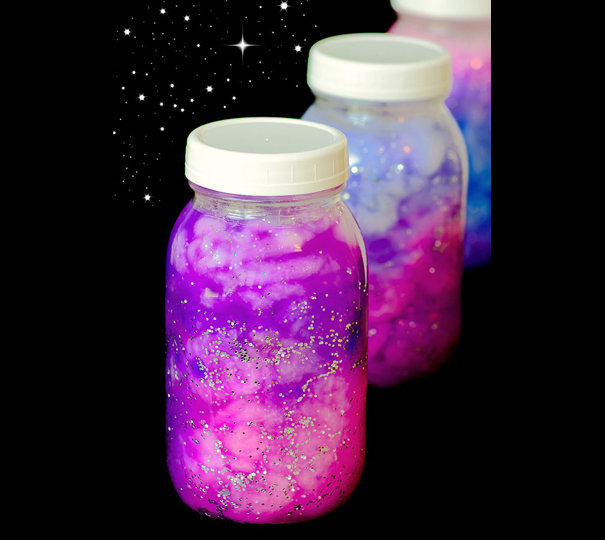
Glittering Galaxies

Trisha Hass via MomDot

Easy to make with minimal mess, little mix-masters can craft their own swirling nebulas with a mason jar, cotton, water, glitter and paint. You can thank Trisha over at MomDot for this mystical potion that just might get your little magician calm for her afternoon nap. 

Wiggly Worm Brew

Thomas Brogan via Des Moines Parent

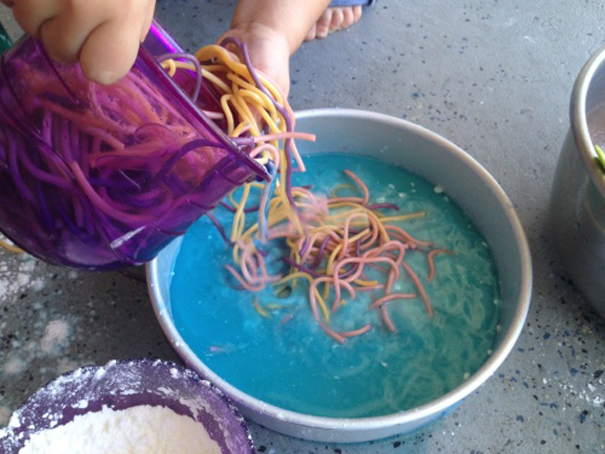
This magic brew is a little on the messy side (be sure to find the right spot before getting started), but it's hands-on slimy slithering fun. Head on over to Des Moines Parent, to get the how-to for coloring the spaghetti, then mixing in cornstarch, baking soda, salt and water. The last step is to watch with your little wizards to see what happens next!

Advertisement

Related: 10 Science Experiments You Can Do at the Beach

Have a Potion Party

Bar Rucci via Art Bar

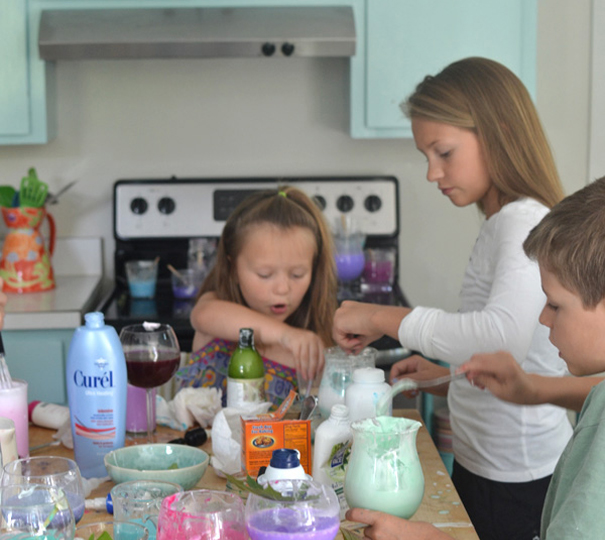
Potion-making is as easy as mix, whisk, color and create! Have your little wizards gather half-bottles of household items like shaving cream, and shampoo, then add spice and dabble-e-doo! You’ve got a magic potion party. This fanciful fest was the inspiration of Bar Rucci over at ArtBar

Garden Soup

potions for kids

Jackie Currie via Happy Hooligans

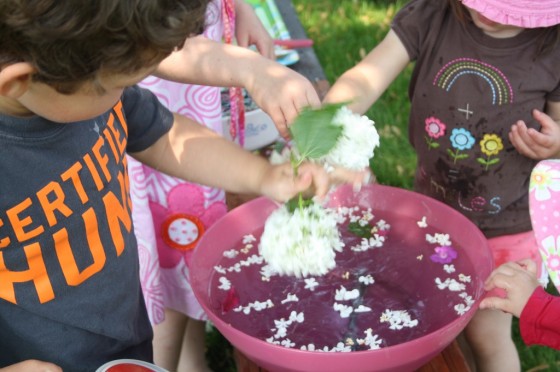
Is there anything more natural than kids whipping up a little garden-centric potion on a warm, sunny day? Probably not, which is why we love the setup from Jackie over at Happy Hooligans. With just a few ingredients, your kids can get their dose of outdoor play in a cool setting. 


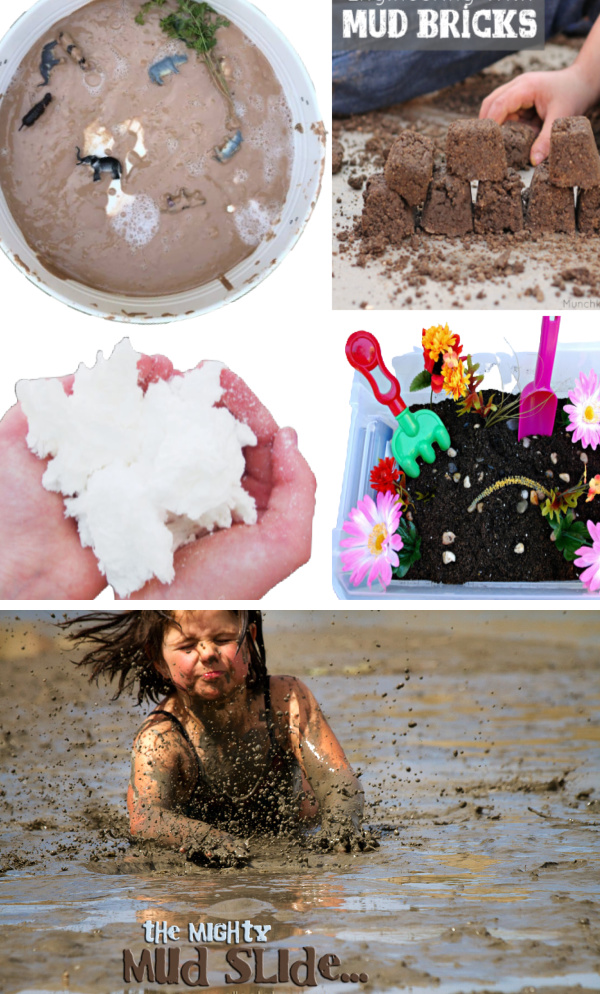
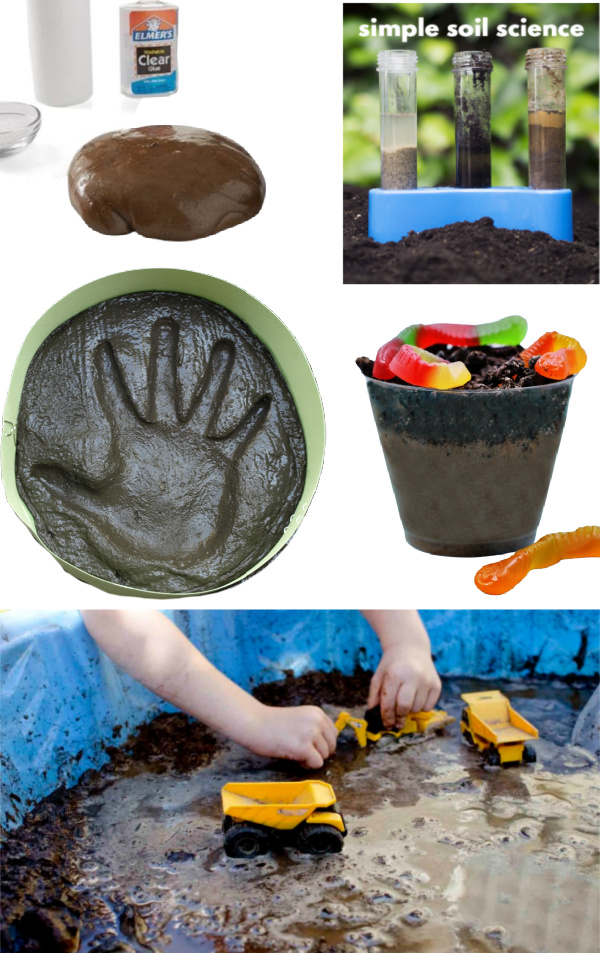
Tons of fun and creative ways for kids to play in the mud! #mudplayideas #mudactivitiesforpreschool #mudrecipeforkids #internationalmudday #growingajeweleroseTons of fun and creative ways for kids to play in the mud! #mudplayideas #mudactivitiesforpreschool #mudrecipeforkids #internationalmudday #growingajewelerose

MORE ides for KIDS:

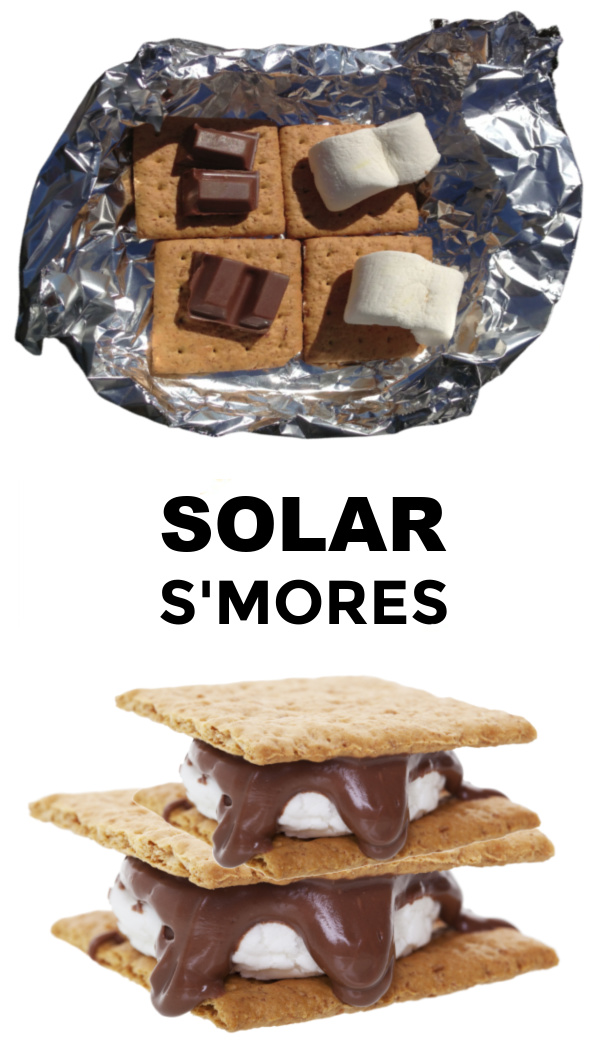
Make s'mores without fire!  Fun science for kids. #solarsmores #solaroven #solarsmoresforkids #scienceexperimentskids #growingajeweledrose


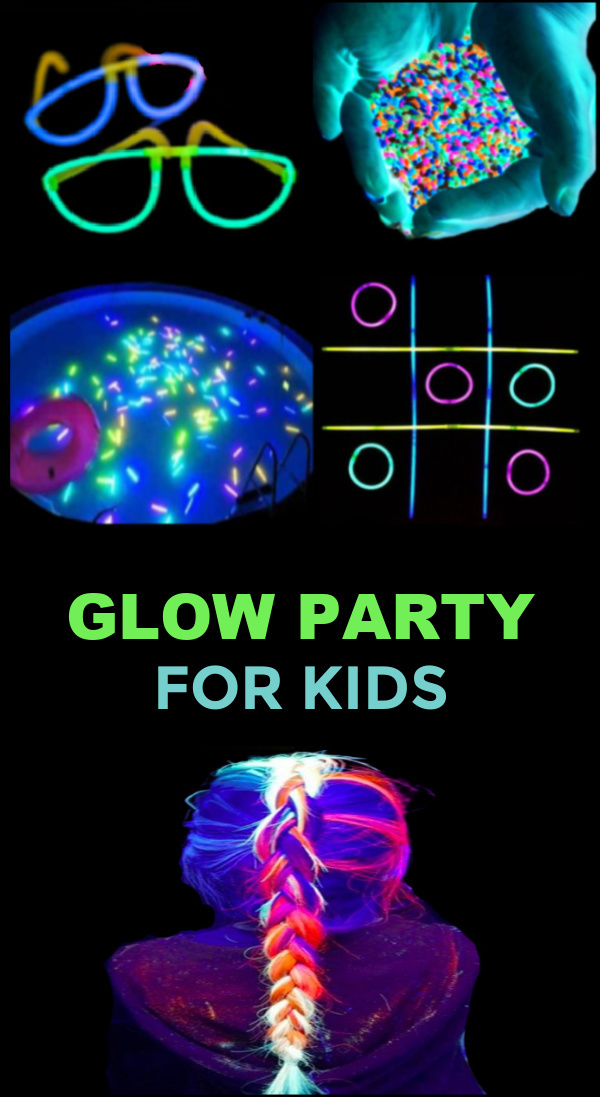
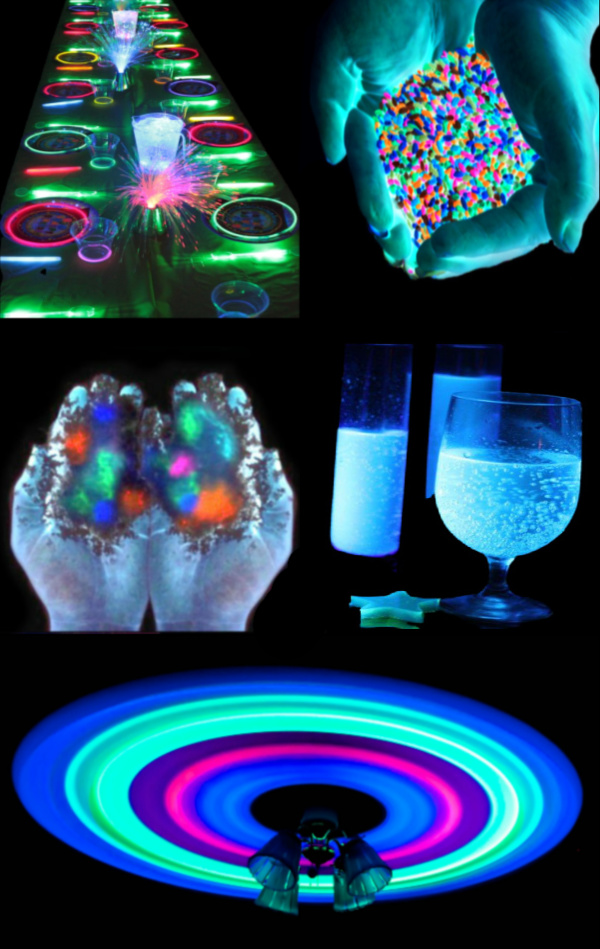
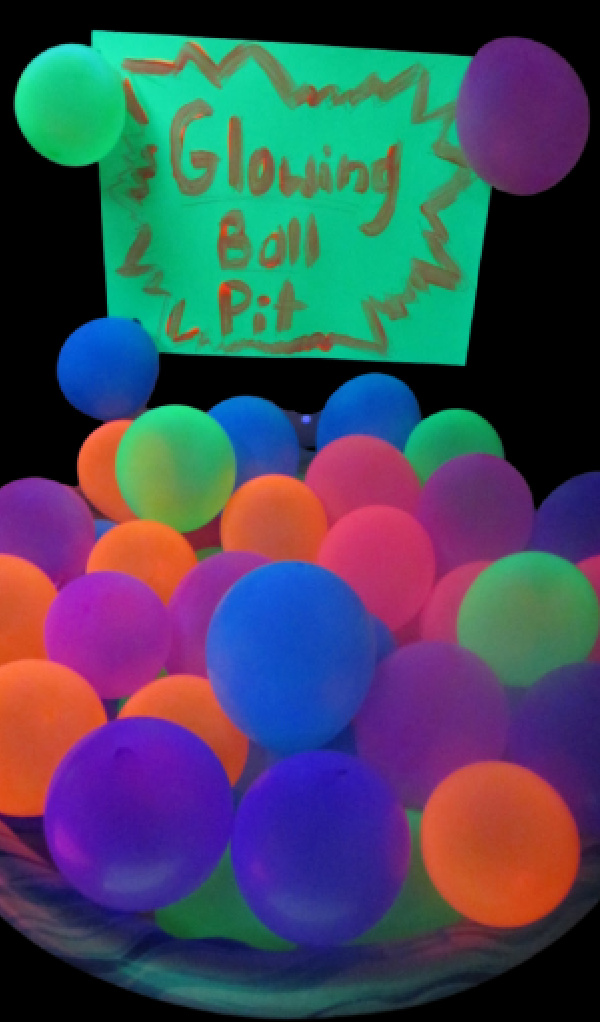
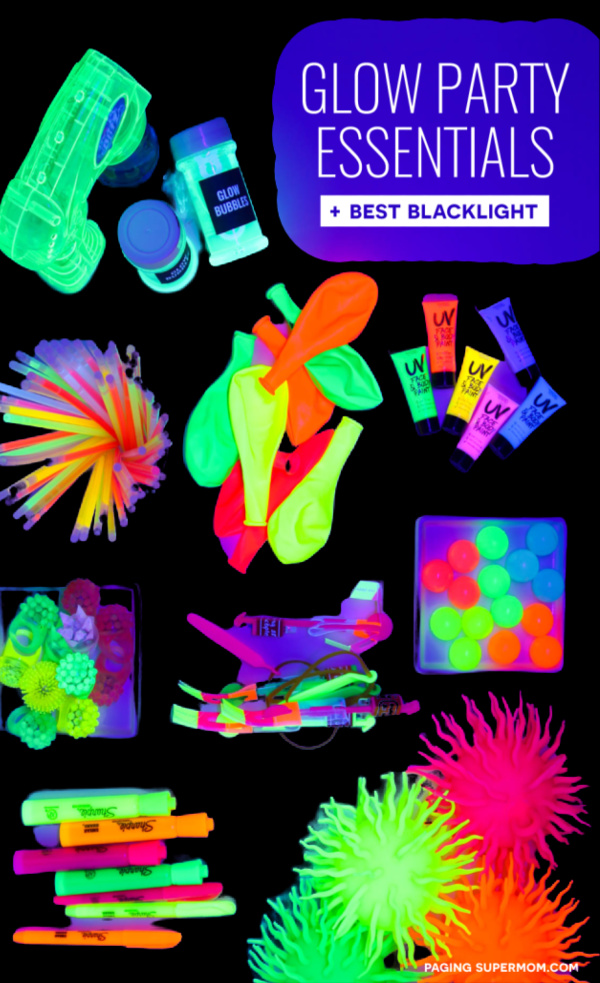
Throw the ultimate glowing party for kids with this collection of ideas! #glowinthedarkpartyideas #glowinthedark #blacklightparty #uvpartyideas #growingajeweledrose #activitiesforkids

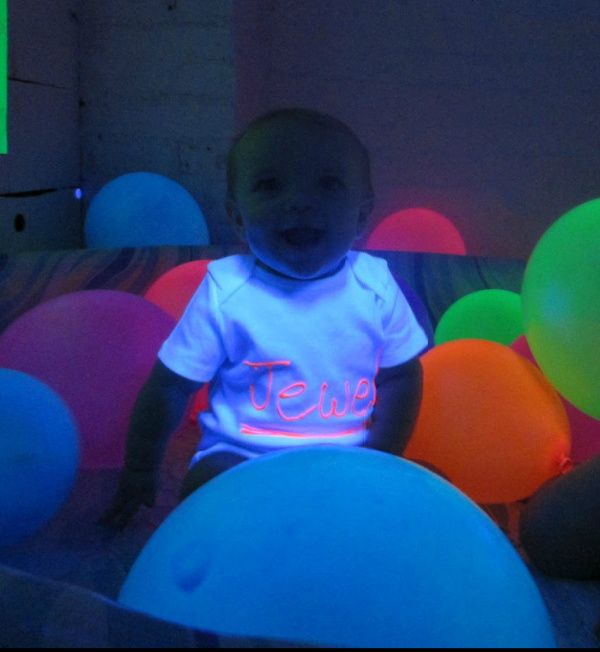
Throw the ultimate glow-in-the-dark party  for kids with these super fun ideas! When my girls were tiny tots we threw a blacklight themed play party, and it was so much fun!  The images from that time were so poor that I have updated them and the post to also include my favorite glowing party ideas from others.  This makes it an even better resource for epic glowing fun!

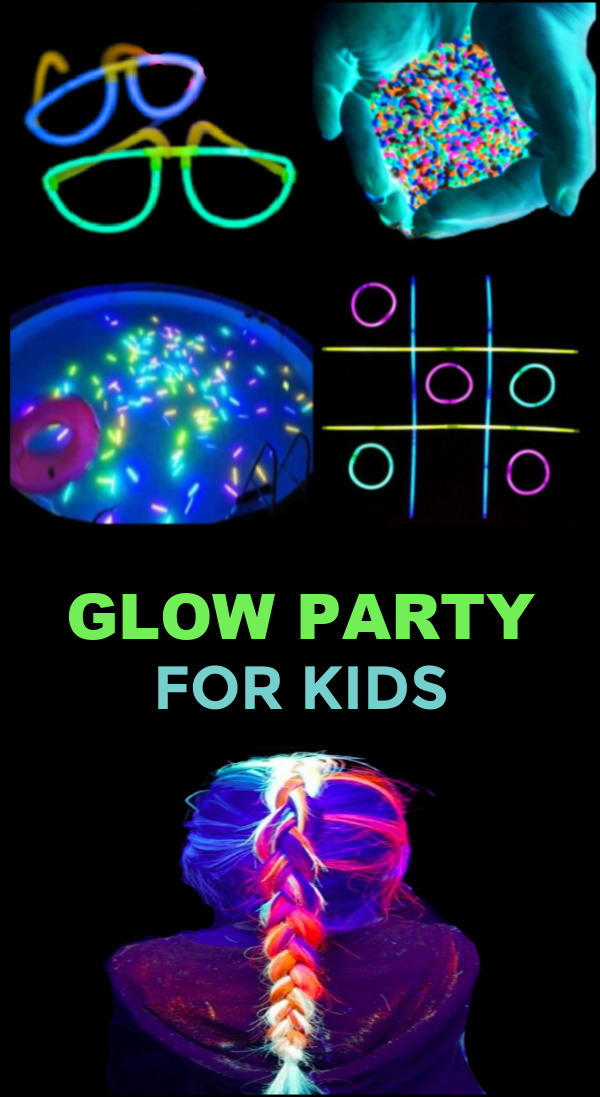
Throw the ultimate glowing party for kids with this collection of ideas! #glowinthedarkpartyideas #glowinthedark #blacklightparty #uvpartyideas #growingajeweledrose #activitiesforkids

Glow-in-the-Dark Party Ideas for Kids

Throw the ultimate glowing party for kids with this collection of ideas! #glowinthedarkpartyideas #glowinthedark #blacklightparty #uvpartyideas #growingajeweledrose #activitiesforkidsThrow the ultimate glowing party for kids with this collection of ideas! #glowinthedarkpartyideas #glowinthedark #blacklightparty #uvpartyideas #growingajeweledrose #activitiesforkidsThrow the ultimate glowing party for kids with this collection of ideas! #glowinthedarkpartyideas #glowinthedark #blacklightparty #uvpartyideas #growingajeweledrose #activitiesforkidsThrow the ultimate glowing party for kids with this collection of ideas! #glowinthedarkpartyideas #glowinthedark #blacklightparty #uvpartyideas #growingajeweledrose #activitiesforkidsThrow the ultimate glowing party for kids with this collection of ideas! #glowinthedarkpartyideas #glowinthedark #blacklightparty #uvpartyideas #growingajeweledrose #activitiesforkidsThrow the ultimate glowing party for kids with this collection of ideas! #glowinthedarkpartyideas #glowinthedark #blacklightparty #uvpartyideas #growingajeweledrose #activitiesforkidsThrow the ultimate glowing party for kids with this collection of ideas! #glowinthedarkpartyideas #glowinthedark #blacklightparty #uvpartyideas #growingajeweledrose #activitiesforkids


Throw the ultimate glowing party for kids with this collection of ideas! #glowinthedarkpartyideas #glowinthedark #blacklightparty #uvpartyideas #growingajeweledrose #activitiesforkidsThrow the ultimate glowing party for kids with this collection of ideas! #glowinthedarkpartyideas #glowinthedark #blacklightparty #uvpartyideas #growingajeweledrose #activitiesforkidsThrow the ultimate glowing party for kids with this collection of ideas! #glowinthedarkpartyideas #glowinthedark #blacklightparty #uvpartyideas #growingajeweledrose #activitiesforkidsThrow the ultimate glowing party for kids with this collection of ideas! #glowinthedarkpartyideas #glowinthedark #blacklightparty #uvpartyideas #growingajeweledrose #activitiesforkids


Throw the ultimate glowing party for kids with this collection of ideas! #glowinthedarkpartyideas #glowinthedark #blacklightparty #uvpartyideas #growingajeweledrose #activitiesforkids
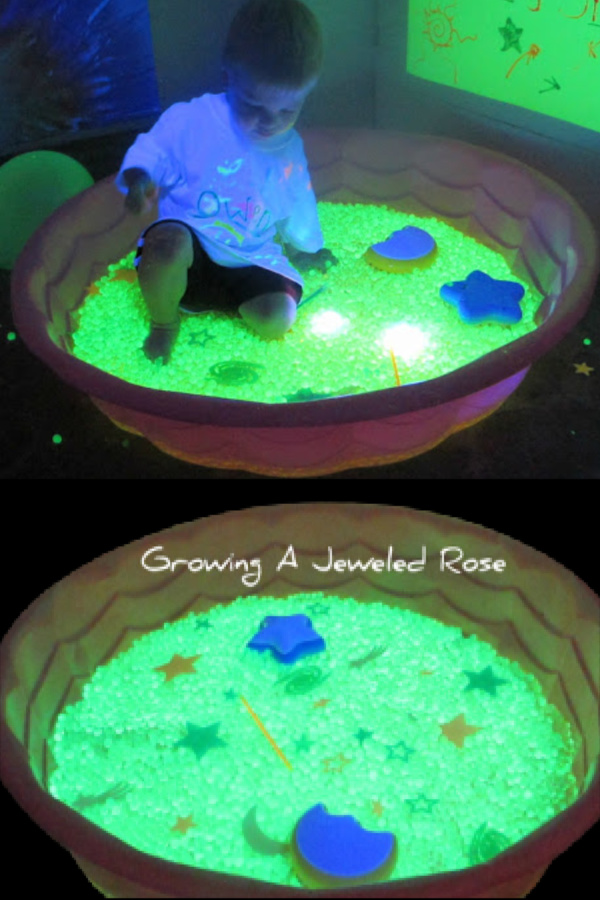
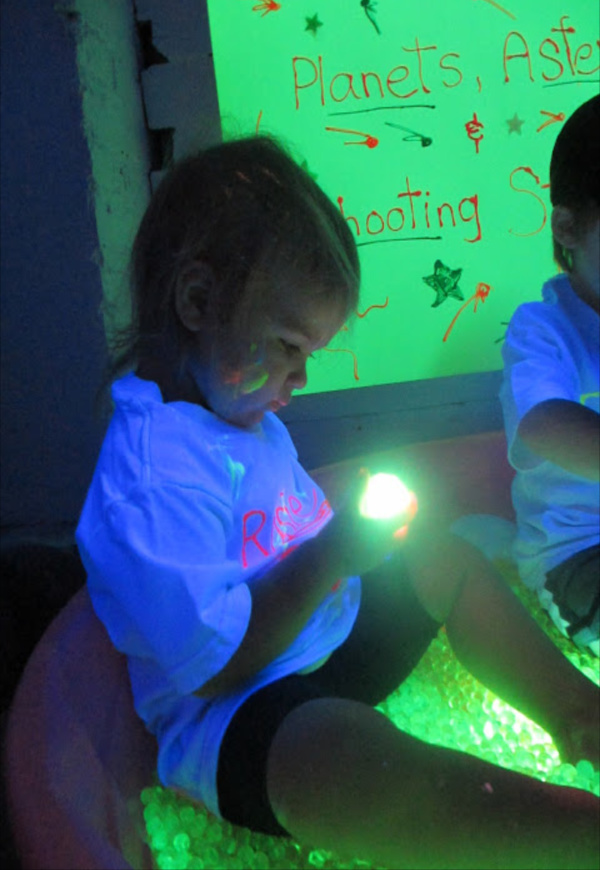
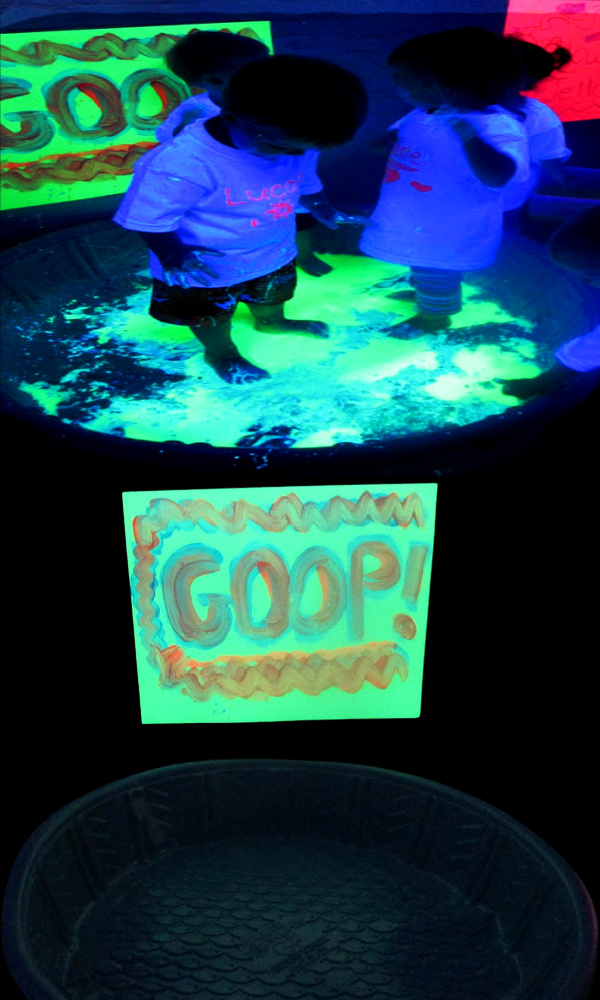
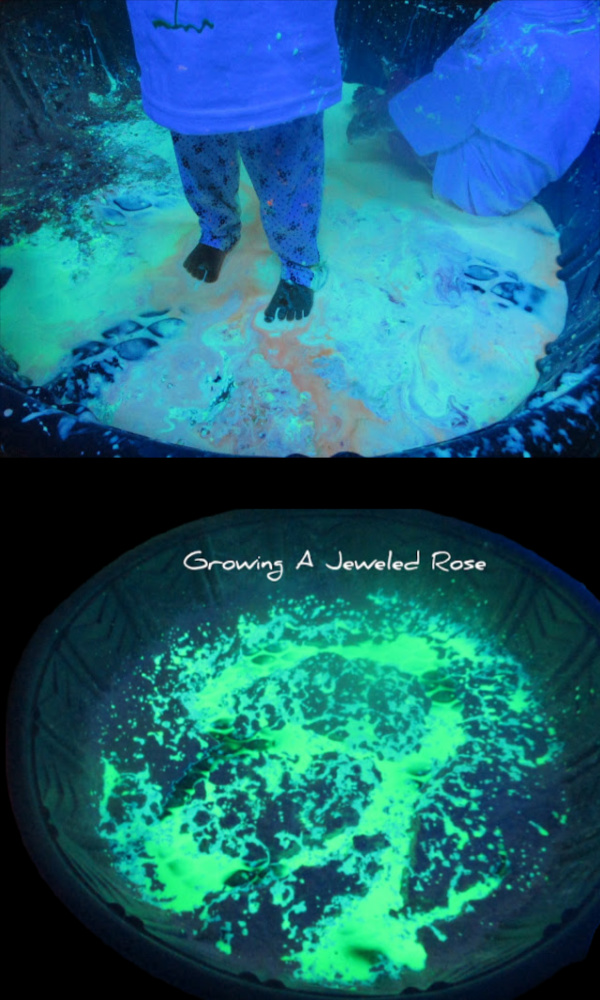
  • Make glowing goop.  Make it in a play pool for even more fun.

Throw the ultimate glowing party for kids with this collection of ideas! #glowinthedarkpartyideas #glowinthedark #blacklightparty #uvpartyideas #growingajeweledrose #activitiesforkids


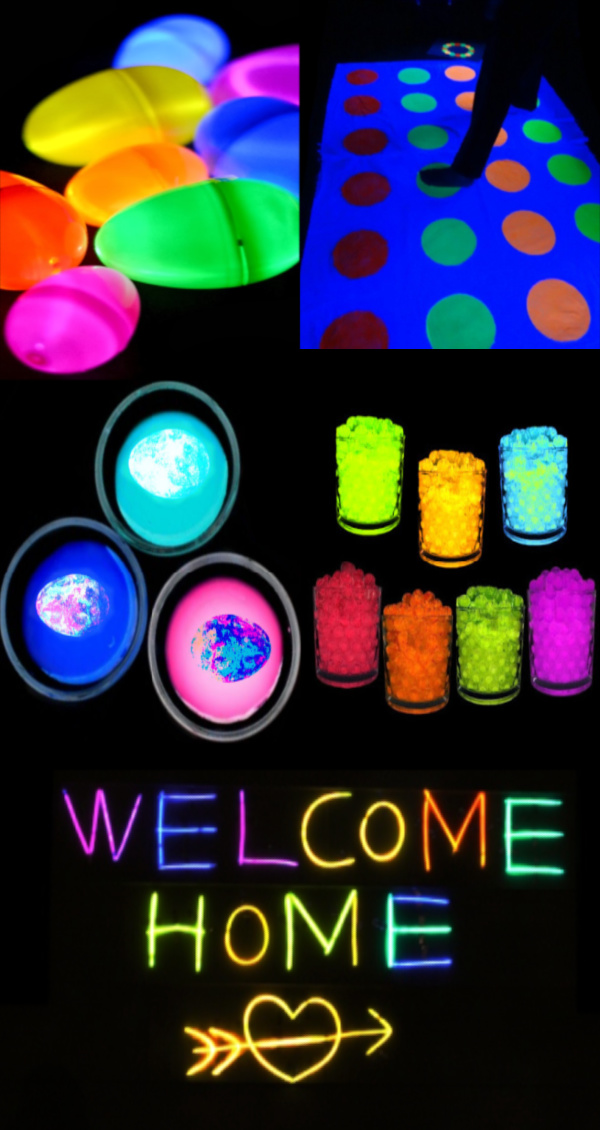
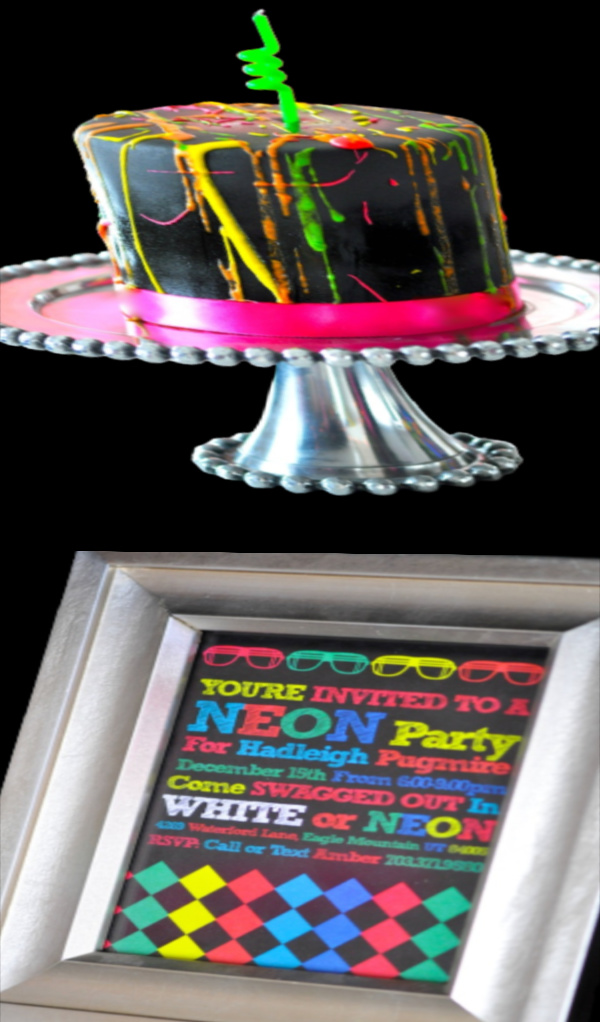
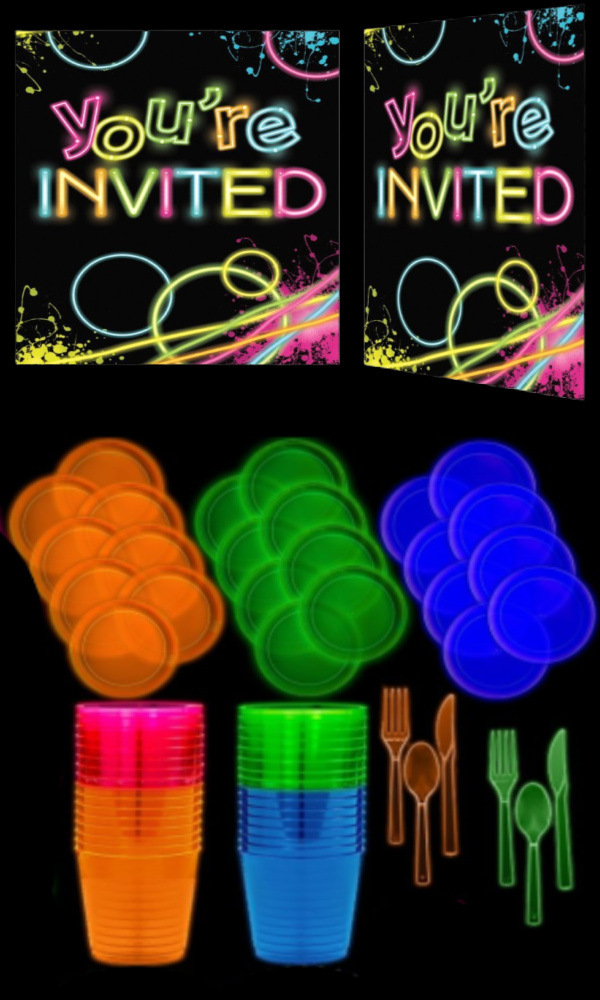
Make an entire party that glows-in-the-dark!

Throw the ultimate glowing party for kids with this collection of ideas! #glowinthedarkpartyideas #glowinthedark #blacklightparty #uvpartyideas #growingajeweledrose #activitiesforkids
  • For lots of ideas on what to buy that glows be sure to check out this collection of glowing party ideas.

Throw the ultimate glowing party for kids with this collection of ideas! #glowinthedarkpartyideas #glowinthedark #blacklightparty #uvpartyideas #growingajeweledrose #activitiesforkids

For a list of things that glow check out this glow essentials guide.

Throw the ultimate glowing party for kids with this collection of ideas! #glowinthedarkpartyideas #glowinthedark #blacklightparty #uvpartyideas #growingajeweledrose #activitiesforkids

Play Dough Concoctio

This is a frequently asked question?

This is a FAQ description. Add more detail about this service, such as benefits, appearance, components and value

This is a frequently asked question?

This is a FAQ description. Add more detail about this service, such as benefits, appearance, components and value

Superscript

Block title

This is a block description. To edit, click and type the text or replace it with your own custom content

23 Fun STEAM and STEM Activities for Kids

Get your kids psyched about STEM and STEAM with interactive activities they can do at home. They'll be amazed to use science, technology, engineering, art, and math in a setting that feels nothing like school.


PHOTO: STEPHANIE RAUSSER


Updated on November 2, 2022

Juice-Pouch Stomp Rocket

AARON DYER

This rocket uses the power of compressed air to launch into the sky. (Budding engineers take note: This is called pneumatics!) By Ana Dziengel, Babble Dabble Doo

What You'll Need:

Empty juice pouch; one flexible straw (that comes with the pouch); one standard straw; colored cardstock; washi tape (optional); modeling clay

What To Do:

1. Snip off the end of the flexible straw on an angle.

2. Insert the pointed end of the straw into the straw hole of the juice pouch.

3. Cut the second straw in half. This will be your rocket.

4. Make three trapezoids from cardstock, in the following dimensions: 3 inches (base) x 1 inch (height) x 3/4 inches (top). Set two aside to be full fins. Cut the last one in half vertically.

5. Tape the full fins on each side of the straw. Don't flatten the straw.

6. Tape one half-fin perpendicularly to each full fin as shown. Add washi tape to decorate the straw if desired.

7. Roll a small bit of clay into a ball. Add this to the top to seal the straw completely.

8. To launch the rocket, inflate the pouch by blowing into the flexible straw. Bend the flexible straw to aim and place the rocket straw over the end. Stomp down hard for liftoff!

Note: If after some use, one of the straws cracks, simply replace it with a new one.


I'm a Mom and a Scientist: This Is Why Kids Benefit From Doing Experiments at Home

02of 23

Pom-Pom Catapult

AARON DYER

This simple machine uses stored energy (the tension in the rubber bands) to release a projectile (called the payload). Play around with the position of the stopper to get the maximum angle and distance for your launch—and have fun with colors and decorations.

What You'll Need:

Hole punch; rectangular box; three unsharpened pencils; a few strong rubber bands; masking tape or glue; jar lid; paper clip

What To Do:

1. Punch a hole in a long side of the box, 3 inches from a short side. Punch a matching hole on the other side. The holes should be large enough for a pencil to rotate easily. Punch a third hole on the opposite short side; it should be centered and near the bottom.

2. Assemble the catapult arm: Join 2 pencils together perpendicularly to make an inverted lowercase t; secure them with rubber bands.

3. Tape or glue a small jar lid to the longer end of the arm as shown.

4. Wrap another rubber band around the shorter end of the arm using a slipknot.

5. Place the ends of the horizontal pencil in the side holes. Thread the tail of the slipknot (from Step 4) through the remaining hole, and knot a paper clip around the end to hold it in place.

6. Create a "stopper" for the catapult arm with the third pencil. Place it across the top of the box just in front of the arm; secure it in place by wrapping a large rubber band around one end of the pencil, under the box, and up and around the other end.

7. Load it up...and let 'er fly.

03of 23

Electric Play-Doh Lightning Bug

AARON DYER

In this STEM activity, kids will create a simple closed circuit to make their bug glow. Who knew that Play-Doh could conduct electricity? There are a few extra rules for this activity, though: Adult supervision and safety glasses are required. You're working with electricity, after all. And never touch battery-pack wires to each other or attach LEDs straight to the battery-pack wires. This can lead to overheating or damage. By Anne Carey, Left Brain Craft Brain

What You'll Need:

Cardstock; Play-Doh; 10mm diffused LED bulb with leads; four AA batteries; four AA battery pack with leads (Find the bulb and battery pack wherever electrical supplies are sold.)

What To Do:

1. Cut an oval cardstock base for the bug and two heart-shaped wings.

2. From Play-Doh, make the head and two separate, oblong sides; place them on the paper base. (Make sure the side pieces don't touch each other or the bug won't light up.) Add eyes and antennae as you like.

3. Look at the leads of the LED. The longer one is the positive lead, and the shorter one is the negative. Pull the leads apart, and stick one end into each side of the body. Remember which side has the positive lead.

4. Insert the batteries into the battery pack. Stick the red wire into the side with the positive LED lead; put the black wire into the other.

5. Turn on the battery pack and watch the bug glow!

Note: If your bug doesn't light up, turn the LED around and insert the long lead into the other side of the body.

04of 23

Balance Sculpture

AARON DYER

Looks are only half the challenge in this STEM activity for kids. Your budding builders will need to be patient as they test to find the sweet spot to make it balance! By Ana Dziengel, Babble Dabble Doo

What You'll Need:

Cardboard; craft paint; paper-towel tube; 5-inch square piece of cardboard; hot glue; floral wire or pipe cleaners; beads; 12-inch bamboo skewer with sharp ends snipped off

What To Do:

1. Cut the cardboard into shapes; paint. Paint the paper-towel tube and square piece of cardboard. Let dry.

2. Flatten one end of the paper-towel tube; staple closed. Cut a small V-shaped notch in the center of the flattened end. This will be the fulcrum.

3. Glue the open end of the paper-towel tube to the cardboard square. Let dry.

4. Thread cardboard shapes, wire, and beads onto a long skewer, balancing and adjusting it on the notch. Continue adjusting, using tape if needed for security, until sculpture is balanced.


10 Playful Math Activities for Preschoolers

05of 23

Invisible Ink

RYAN CLINE

When life gives you lemons, make a secret message from invisible ink! Mail it to a friend or relative, include tips on how it works, and let them bring the image or note to light.

What You'll Need:

One lemon; cotton swab; sheet of white paper; sun, iron, or lightbulb

What To Do:

1. Squeeze the lemon juice into a bowl and add a spoonful of water. Mix gently. Dip the swab into the liquid and write a message or draw a picture on the paper.

2. Let the liquid dry completely so that the message or picture is invisible. To share your secret, set it in sunlight, hold close to a lightbulb, or iron (with adult help).

3. The message will be revealed! Hang it as artwork or share it with a friend.

How Does It Work?

Diluting or adding water to the lemon juice makes it very hard to see when you apply it to the paper, but lemon juice is an organic substance that oxidizes and turns brown when it's heated up. This means that no one will notice that the secret is there until the paper is heated and the message is revealed! Other substances that work in the same way include orange juice, honey diluted with water, milk, onion juice, and vinegar.

06of 23

Solar System Mobile

JASON DONNELLY

This far-out felting project from craft stylist Katie Leporte, author of the adorable needle-felted picture book Pearl & the Whale, is guaranteed to get the kids psyched to go back to science class.

What You'll Need:

About 2 oz of 100 percent wool roving in assorted colors (like this); two 38-gauge star-point felting needles; felting pad or dense foam; white fiberfill stuffing; white paint; two paint-stirring sticks; drill and 3/32-inch drill bit; white baker's twine or thin cotton yarn; sewing needle with a large eye; brass fish-eye hook; small brass chain

What To Do:

1. To make a planet, pull off a few inches of roving and roll it into a ball so it fits in your palm. Pin onto the felt pad with one needle and use the other to "felt," or to press the needle up and down repeatedly. The tiny barbs on the end of the felting needle compress the fibers into a desired shape. Turn the roving often and continue felting until it forms a semi-firm and uniform ball. Felt on a thin piece of roving in a different color if desired (to make the blue swirls on Neptune, for instance). Repeat to make additional planets.

2. To make the sun, pull a 4- to 5-inch-diameter tuft of stuffing and wrap with yellow roving to cover stuffing completely.

3. Paint two paint-stirring sticks and let dry. Mark five holes, spaced about 3 inches apart, on one of the paint sticks. Drill. Place the drilled stick over the other one as a template, mark holes, and drill.

4. With the sticks in an "X" shape, line up the center holes; use the needle to thread the sun through the center hole. Knot to desired length. Twist in the fish-eye hook from the top to secure the paint sticks together. Secure the planets to yarn with the needle and thread up through remaining eight holes. Knot in place at desired heights.

5. Add a chain to hang; felt on small amounts of wool to planets as needed to balance the mobile.

07of 23

Bath Bombs

BIZ JONES

Scrub-a-dub-dub! Add some science to the tub with these pretty and so-simple bath bombs. By Curious Jane

What You'll Need:

1/2 cup citric acid; 1 cup baking soda; 1/2 cup corn starch; 1/2 cup Epsom salt; essential oil of your choice; 1 tsp water; 1 tsp olive oil; sphere-shaped mold (we used clear plastic ornaments)

What To Do:

1. Combine citric acid, baking soda, corn starch, and Epsom salt in a large bowl. Mix well and set aside. In a small bowl, mix together one or two drops of essential oil, water, and olive oil.

2. Add the wet mixture to the dry very slowly. Mix it together quickly and thoroughly so it doesn't begin to bubble. Once it's all combined, let the mixture sit for a few minutes; it should look and feel like wet sand. If it's still too dry, add a drop of olive oil, but don't oversaturate.

3. Separate the mixture into smaller bowls and add food coloring, mixing in the color by hand.

4. Layer the different colors in both halves of a sphere-shaped mold and pack them down. When each side is completely filled with a slight mound, press them together and gently rotate until the sides lock. (Optional: Add a small plastic toy, glitter, or flower petals when you're layering the bath bomb mixture.)

5. Let the bomb dry in the mold for a few minutes, then carefully remove the top half. Leave it for another hour or two, then carefully turn the bottom half out of the mold. Let it dry overnight.

How Does It Work?

The fizzy reaction in the tub is created by combining two ingredients: sodium bicarbonate (baking soda) and citric acid. The baking soda is a base, and the citric acid is (you guessed it) an acid. Not much happens when you mix them dry. But when you add water, voilà! It acts as a catalyst, allowing the ions in each to collide. They react and dissolve, producing tiny bubbles of carbon dioxide gas. The fizzing helps the bombs break down, and it releases the scent!

Psst! Check out the book Curious Jane: Science + Design + Engineering for Inquisitive Girls.


20 Awesome Science Kits for Kids to Build, Explore, and Experiment at Home

08of 23

Balancing Buddy

TARA DONNE

When completing this STEM activity, your child will be delighted to see this silly pal teeter on its tiny toothpick point!

What You'll Need:

Wine cork; two 12-inch bamboo skewers; toothpick; modeling clay; decorations (like paper, googly eyes, and paint)

What To Do:

1. Place the cork upright on your work surface. Press the pointy end of a skewer into one side of the cork at a 45-degree angle (the ends should point up); repeat on the opposite side. Press the toothpick into the top center of the cork.

2. Roll two equal-size balls of modeling clay and press them onto the ends of the skewers. Decorate the cork as desired.

3. Place the tip of the toothpick on your finger to see if the toy balances. If it leans to one side, adjust the angles of the skewers until it stands up straight.

How Does It Work?

Every object has a center of gravity—the point where its mass is evenly distributed. Because the clay balls are heavier than the cork, they bring the center of gravity to the bottom of the toothpick. In order for the toy to "stand," the weight of the balls must also be in balance: Adjusting the skewers helps to compensate for any difference in size and allows Buddy to stay centered.

09of 23

Dancing Puppet

TARA DONNE

Surprise: The whole robot moves with the pull of a string! Make a couple and put on a show with this STEM activity for kids.

What You'll Need:

Paint and paintbrush; a piece of cardboard cut into 13 strips that are 1½-inch-wide (four 10-inch pieces, four 5-inch pieces, one 4-inch piece, and four 3½-inch pieces); construction paper; pencil; scissors; hole punch; 1-inch-capacity brads; glue; 6-inch piece of string

What To Do:

1. Paint one side of each cardboard piece black; let dry. Trace the robot-face template onto construction paper and cut out; fold as directed.

2. Following the template, punch holes in the cardboard pieces and connect the face and cardboard pieces with brads. Score the 4-inch piece of cardboard into sections, then fold it into a T and glue to the back of the puppet; let dry.

3. Tie the string to the bottom-most brad. Hold the puppet by the handle and pull on the string to get the arms and legs moving.

How Does It Work?

Each brad acts as a fulcrum, creating a pivot point for the pieces of cardboard it's connecting. But because each piece of cardboard attaches to another one, the pressure (effort) you apply to the first one is transferred to the rest, making everything move at once.

10of 23

Brushbot

TARA DONNE

This crazy critter moves on its own. Just don't expect it to clean the floors!

What You'll Need

Four AA batteries; 6-volt battery case with wire lead terminals and an on-off switch (we used this one); 6-volt hobby motor; electrical tape; washer, dime, or other small, flat object; kitchen brush; duct tape; felt; scissors; tacky glue

What to Do:

1. Put batteries in the battery case. Connect the leads to the hobby motor (it doesn't matter which color lead connects to which), and secure the wires in place with electrical tape. Attach the washer to the motor's shaft with electrical tape.

2. Attach the battery pack and motor to the brush with duct tape, and decorate as desired (just make sure you can still access the on-off switch). Turn it on to see it move on its bristle "feet."

How Does It Work?

This STEM activity for kids creates a simple circuit, a closed path that an electrical current travels through. The battery provides the electricity, and the wires conduct it to the motor. When the motor's shaft spins, the washer throws it off-balance, making the whole motor—and the brush along with it—vibrate and move.

11of 23

Zip-Line Toy Transporter

TARA DONNE

Get gravity working to move toys—quickly!—from one side of the room to the other in this nifty rocket ship.

What You'll Need

Removable adhesive wall hook (like a Command Hook); cardboard tea box; hole punch; cardstock; tacky glue; 11 ½ feet of parachute cord, cut into two pieces (10 feet and 16 inches); swivel-eye pulley; duct tape

What To Do

1. Attach the hook to a wall, about as high as your child can reach; let set.

2. Cut the box in half lengthwise, punch holes in two opposite sides, then use our template to create the rocket from cardstock and adhere it to the box. Tie one end of the 16-inch rope to one hole, loop it through the eye of the pulley, and tie it to the hole on the other side.

3. Run the 10-foot piece of rope through the block (wheel) of the pulley. Tie a loop onto one end, then hang it on the wall hook. Pull the other end of the rope until it's taut, then use duct tape to secure it to the floor at a 45-degree angle from the wall (or hold it in place for your child).

4. Have your child push the rocket all the way up to the top of the line, then let go and watch the rocket fly!

How Does It Work?

A pulley is a wheel with a grooved rim that helps it grip the rope. As the wheel turns, it encounters very little friction as it travels, so it moves quickly. Because the far end of the rope is lower than the anchor point in the wall, gravity pulls the rocket toward the ground—super fast!

12of 23

Yardstick Launcher

TARA DONNE

Hurl lightweight balls, toys, and other objects toward a target across the room with the stomp of a foot. By Rachelle Doorley, TinkerLab

What You'll Need

Clean metal can (like a coffee can); scrapbook paper; tape; yardstick; acrylic paint and paintbrush; hot glue; four plastic party cups; rubber band; ping-pong balls or other small objects

What To Do:

1. Cover the can with scrapbook paper and secure with tape. Paint the yardstick; let dry.

2. Use hot glue to attach the plastic party cups to one end of the yardstick (an adult's job). Secure the can to the middle of the yardstick with a rubber band.

3. Place ping-pong balls or other small objects in the cups, then stomp or press down firmly on the free end of the yardstick to launch the projectiles across the room.

How Does It Work?

A lever is a simple machine made from a rigid beam (the yardstick) and a fulcrum (the can). When your child applies downward force to one side, it elicits an opposite reaction, sending the unattached load (the ping-pong balls) flying. You can change the amount of effort it takes to move those balls: The closer the can is to the cups, the less work it takes to move the projectiles.

Psst! Like this activity? Check out Doorley's book TinkerLab: A Hands-on Guide for Little Inventors.

13of 23

Pentominoes

JEFF HARRIS 

Polyominoes are shapes made from groups of congruent squares. (Dominoes are two-square pieces, and Tetris uses tetrominoes, four-square pieces.) Building pentominoes works kids' spatial reasoning skills and hones concepts of area and perimeter: Each shape looks different but has the same area (five square units), though not necessarily the same perimeter. Make pentominoes with this STEM activity for kids.

What You'll Need:

Glue; 60 unfinished 1-inch wooden cubes (we got ours on amazon.com); paintbrush and paint, in color(s) of your choice

What To Do:

1. Sort the wooden cubes into groups of five, then challenge your child to create 12 different shapes where each cube shares at least one side with another. These are your pentominoes! (Use the photo as a key if they get stuck.)

2. Once your child has found all 12 configurations, glue the cubes together and paint them as desired. (We mixed teal with increasing amounts of white paint for an ombré set.)

3. Time to play! Have your child try to create various squares and rectangles with the blocks. (Hint: They'll need four different puzzle pieces to complete a 4 x 5 rectangle.)

14of 23

Math Fact Triangles

JEFF HARRIS

Most parents learned to solve problems in a linear way: 1 + 2 = 3. Using the triangles helps kids think in "fact families." They learn that 1 + 2 = 3 and 3 - 2 = 1 at the same time. The triangles promote flexible thinking, which allows for faster problem solving as kids practice.

What You'll Need:

Craft foam, in various shades; scissors; sharpie pen

What To Do:

1. Cut out equal-size triangles from different shades of craft foam.

2. Along with your child, use a Sharpie to write an addition/subtraction or multiplication/division equation (depending on your child's skills) on each triangle, placing one number in each corner; circle the answer.

3. Flip the triangles over. Choose one, cover the circled answer with your finger, and ask your child to solve it. (To practice the opposite operation, cover one of the other numbers.)


The 8 Best Math Apps for Kids

15of 23

Perler Bead Arrays

JEFF HARRIS

Take a break from flash cards and practice multiplication tables using arrays, which allow kids to see the answers as they study.

What You'll Need:

Perler beads (we got ours from Amazon); Perler beads clear square pegboards (such as this set); iron

What To Do

1. Write out an equation (say, 7 x 3), then challenge your child to express it with Perler beads as an array of three columns of seven. Then they can count the total number of beads to figure out the answer.

2. If your child is struggling with particular equations or a line on their multiplication tables, create a permanent version for them to use: For each equation (7 x 1, 7 x 2, etc), have your child help you assemble the correct number of beads into an array (so one column of seven, two columns of seven, etc.), then iron to set according to package directions. Break them out whenever they need some practice.

How Does It Work?

Arrays—also called the area model of multiplication—are a visual way of teaching multiplication (you can also do it by drawing dots on a piece of paper). Kids can see that 7 x 3 is the same as 7 + 7 + 7, a concept they're probably already comfortable with. Building the arrays and using them to solve equations are both powerful ways to internalize the answers.

16of 23

Cloud in a Jar

Curious Jane STEAM Cloud In A Jar

STEPHANIE RAUSSER

This homemade rainstorm project teaches your child about weather systems and precipitation. By Curious Jane

What To Do:

1. Fill the jar with water until it is almost full.

2. Squirt foam shaving cream over the top, so it completely covers the surface.

3. Fill a small cup with water and add plenty of blue food coloring.

4. Using a medicine dropper, have your child dribble blue water on top of the shaving-cream cloud, and watch the rainstorm form.

17of 23

Suspension Bridge

STEPHANIE RAUSSER

With this STEAM activity for kids, your little architect can design and build a bridge, where the deck (usually a road) is supported by cables. The long suspension cables are anchored by towers (here, we used chairs) on either end. Thin vertical cables then are hung from the suspension cables. By Curious Jane

What You'll Need:

Six to 10 foam boards, each 8 inches by 10 inches; duct tape; two chairs; heavy books; scissors; thick and thin cord

What To Do:

1. Tape foam boards together lengthwise to form the deck. Punch holes at the end corners, as shown.

2. Span the deck from one chair seat to the other. Set heavy books on each end to weight the deck.

3. Cut two lengths of thick cord, about twice as long as the distance between the tops of the chairs; these will be the suspension cables. Rig the cables over the chairs as shown below, tying to punched holes at each end.

4. Cut a piece of thin cord for the center vertical cable. Tie it to the midpoint of one suspension cable. Loop it under the deck and up the other side; tie this to the midpoint of the other suspension cable so that the deck is supported.

5. Follow the same process as above, securing the vertical cables on either side of the center cable. Keep placing cables until they reach the towers and the deck is fully supported. Your child will need to tweak and adjust cord placement as they go.

  • 6. Have your kid test how much the bridge can hold—they'll be amazed!


Classroom Experiment Shows the Importance of Hand-Washing — Just in Time for Flu Season

18of 23

"Tie-Dye" Pillows

STEPHANIE RAUSSER

This STEAM project is a mini lesson in solubility (how much of a substance will dissolve in another substance). Permanent marker (like a Sharpie) doesn't wash away with water. However, the molecules in the ink are soluble in rubbing alcohol, so the ink spreads to make a pretty pattern.

Have your kid draw with permanent markers on one side of a white polypropylene pillow insert (Inner cushions, $3 and up). Don't forget to protect the work surface! The more ink they use, the more the color will bleed.

When your kid is done drawing, have them use a medicine dropper to dribble alcohol onto the pillow and watch the magic happen. To finish, let it dry and run it through the dryer on high heat to seal in the design. By Curious Jane

19of 23

Sand Pendulum

STEPHANIE RAUSSER

This STEM activity for kids creates a pendulum—essentially a weight that hangs freely from a string (we used a sand-filled funnel). When you pull it away from its center point and let it go, it will swing back and forth until it reaches its resting point, or equilibrium. The sand trails left by your child's pendulum are a visualization of the mathematical equation at work. Pendulums have been used in clocks, to keep time, for centuries. By Curious Jane

What You'll Need:

Yarn; scissors; sturdy rubber band; kitchen funnel; broomstick or dowel; poster paper (to catch the sand); craft sand

What To Do:

1. Cut three lengths of yarn, each about 3 inches long. Tie each piece to the rubber band, spacing them equally apart.

2. Slip the rubber band over the funnel so that it fits tightly under the lip.

3. Gather the strings above the funnel and tie them at the top so that the funnel hangs evenly.

4. Suspend the funnel from a broomstick or dowel (or just hold it). Place paper below to catch the sand.

5. Have your child fill the funnel with sand, blocking the small opening of the funnel with their finger as they fill it. Instruct them to remove their finger and give it a little push.

20of 23

Exploding Baggie

SAMANTHA RAZOOK/CURIOUS JANE

See science in action when vinegar (an acid) and baking soda (a base) combine to create carbon dioxide—a gas that inflates and causes its container to burst!

What To Do:

1. Measure 1/2 cup vinegar into a gallon-sized Ziploc bag and add a drop or two of food coloring.

2. Twist the baggie just above the liquid and secure with a binder clip, leaving space at the top.

3. Add 1/4 cup baking soda to the top portion of the Ziploc bag. Seal tight!

4. Set outside or on a covered table. Have paper towels handy!

5. Remove the clip, allowing the baking soda and vinegar to combine. (Give a little shake if needed.)

6. Step back, and watch it inflate...and explode! (Try this STEM activity for kids a few times, and adjust the vinegar-baking soda quantities if needed, keeping them in a 2:1 ratio.)

21of 23

DIY Scratch Paper

CAROLINE KAYE / CURIOUS JANE

This STEM activity for kids involves making your own color-scratch cards and sending a magical message.

What You'll Need:

Blank white cards; color crayons; masking tape; clear detergent; black acrylic paint and a paintbrush; small plastic mixing bowl and spoon

What To Do:

1. Tape down the card with masking tape around the edges.

2. Color in completely with a rainbow of crayons.

3. Mix 2 tbsp black acrylic paint and 2 tbsp clear detergent in a small bowl.

4. Paint the card with the mixture, and allow to dry. Do at least two coats.

5. When completely dry, slowly and carefully peel the masking tape away. Scratch your message into the card with a coin or the pointed end of the paintbrush, and see the colors revealed!

22of 23

Lemon Meyer Geysers

PATRYK KOSMIDER/SHUTTERSTOCK

A little mashing and a lot of fizz makes a mini volcano in this STEAM experiment! The citric acid of the lemon juice reacts with the baking soda to release carbon dioxide gas, fizz, and foam.

What You'll Need:

Two lemons; 1 tbsp baking soda; one drop Dawn dish soap; food coloring (optional); plate, knife, fork, and cup

What To Do

1. Slice a bit off the bottom of the first lemon (so it will sit flat) and remove a core from the top.

2. Halve and juice the second lemon, and set it aside.

3. Set the cored lemon on a plate, and mush the inside with a fork. Make sure to keep all the lemon juice in the lemon; it's important for the reaction.

4. Squeeze a few drops of food coloring and a few drops of Dawn dish soap into the lemon (these are not critical ingredients but make the bubbles colorful and sudsy).

5. Add a spoonful of baking soda into the lemon (it should start to fizz), and mush with the fork—it should start foaming and bubbling!

6. Keep the reaction going by adding more baking soda, dish soap, and reserved lemon juice.


All Work and No Play: The State of Kids’ Free Time

23of 23

DIY Ice Cream

In this STEM activity for kids, you'll make ice cream by surrounding the ingredients with a layer of even colder ice. How? Salt changes the boiling and freezing temperatures of water. When you add salt to ice cubes, it causes them to melt faster, but the resulting water is actually colder than regular ice. Eventually, that water will warm up, but as long as there are still a few ice cubes in the bag, you know the surrounding water is still colder than ice. As this extra-cold water circulates around the ice cream mixture, it coaxes it into a frozen state.

What You'll Need

One quart-sized Ziploc bag; one gallon-sized Ziploc bag; 4 cups ice; 6 tbsp rock salt; 1/2 cup half-and-half; 1 tbsp vanilla extract; 1 tbsp white sugar

What To Do

1. Add the ice and rock salt to the gallon-sized Ziploc bag. Shake to coat.

2. Combine half-and-half, sugar, extract and a pinch of salt in the quart-sized Ziploc bag. Seal it tight, getting all the air out.

3. Nestle the small bag of ice cream mixture into the large bag of ice, so that the ice surrounds it. Seal the large bag tightly.

4. Now shake, shake, shake it up! After about 5 minutes, your sweet treat will be ready to eat!
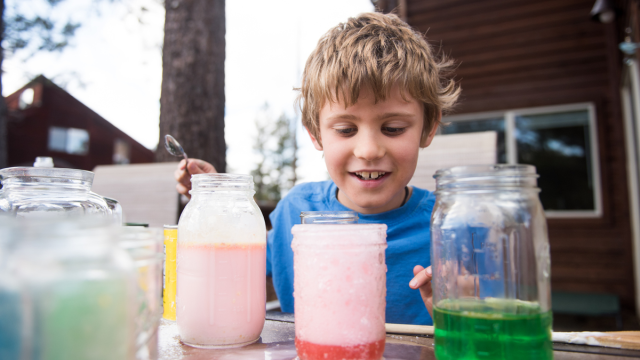
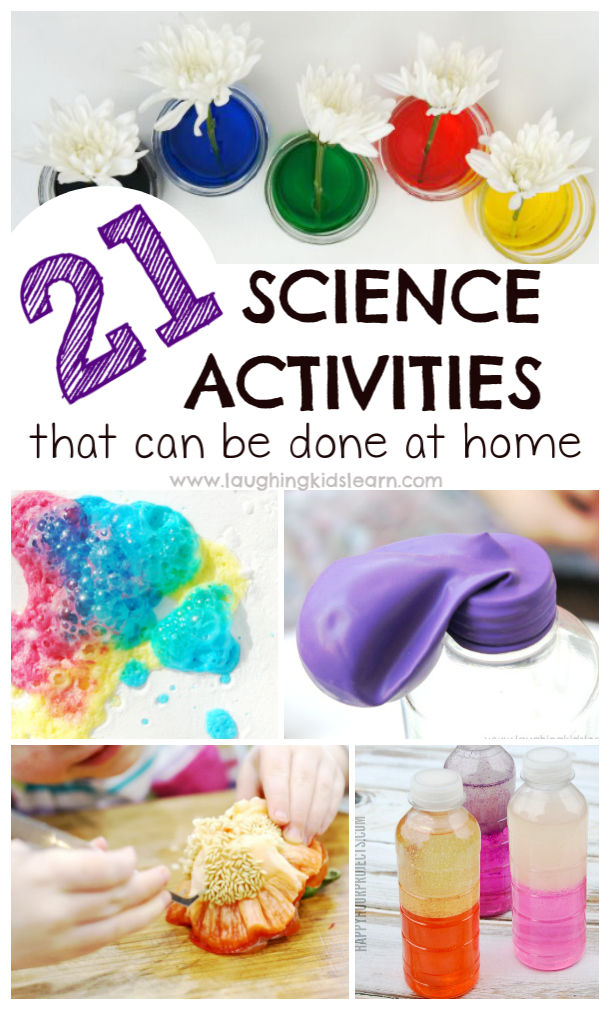
21 simple science activities kids can do at home

Science always seems to ignite wonder and curiosity in children. With many of us in isolation I thought it might be helpful to share 21 simple science activities kids can do at home.

Simple science activities kids can do at home. Great for homeschooling, indoors and isolation fun. #simplescience #sciencefun #kidsscience #homeschooling #homeschoolingscience #scienceactivities #scienceathome

I recently ran a poll in my ‘Activities for Kids’ Facebook group and asked them how I could support them during these difficult times and what topic they wanted to learn from most.

Simple science activities was a clear winner.

Let me share with you 21 simple science activities kids can do at home.

Obviously supervision is required at all times.

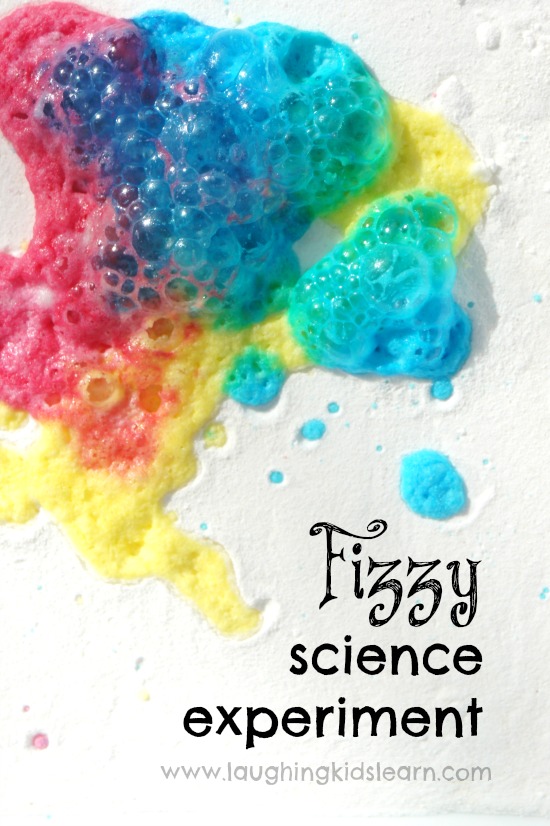
Fizzy science experiment for children to do at home or in the classroom. Bubbly home science fun.

Fizzy Science Experiment for Kids – Laughing Kids Learn

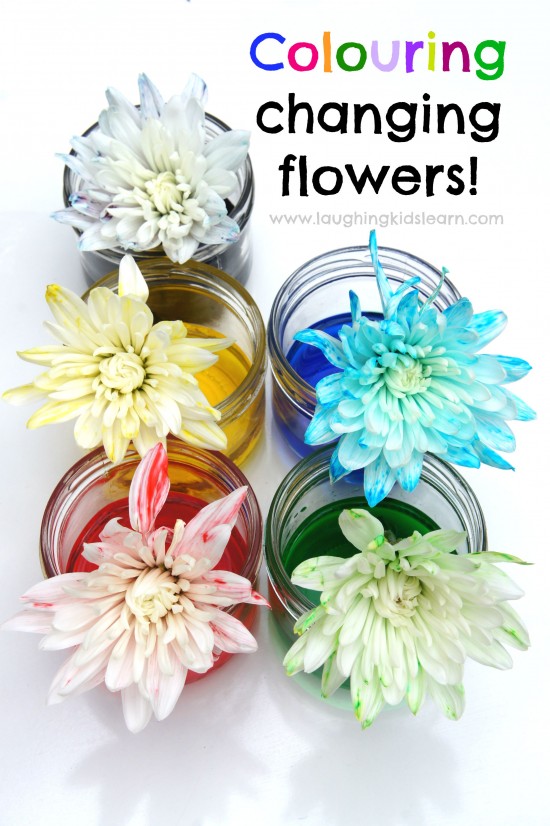
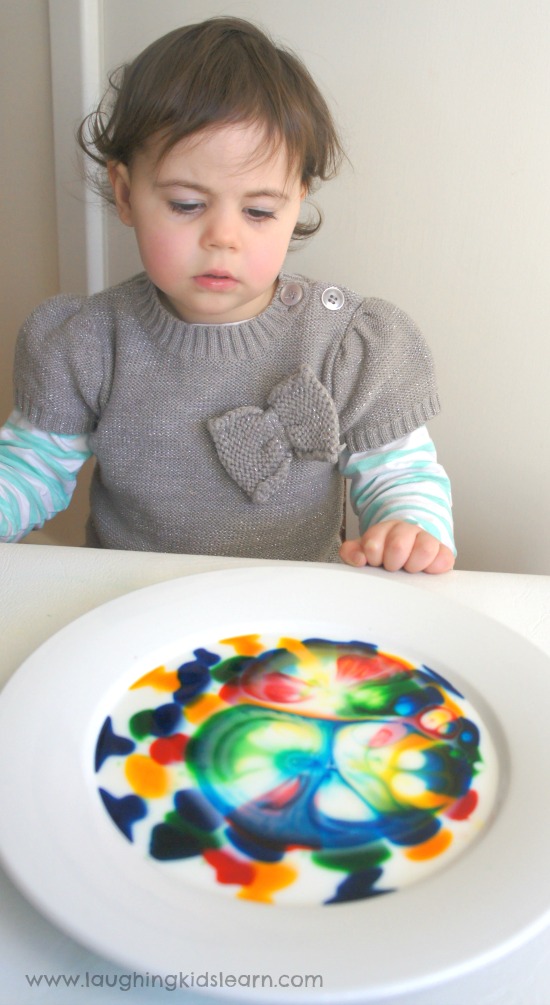
color changing flowers for science activity to do with kids at home or school. Simple science fun. #simplescience #colorchangingflowers #plants #plantlife


Science Experiment with Colour Changing Flowers – Laughing Kids Learn

Simple science activity toddlers and beyond would love using milk and washing up detergent


Magic Milk Science Experiment – Laughing Kids Learn

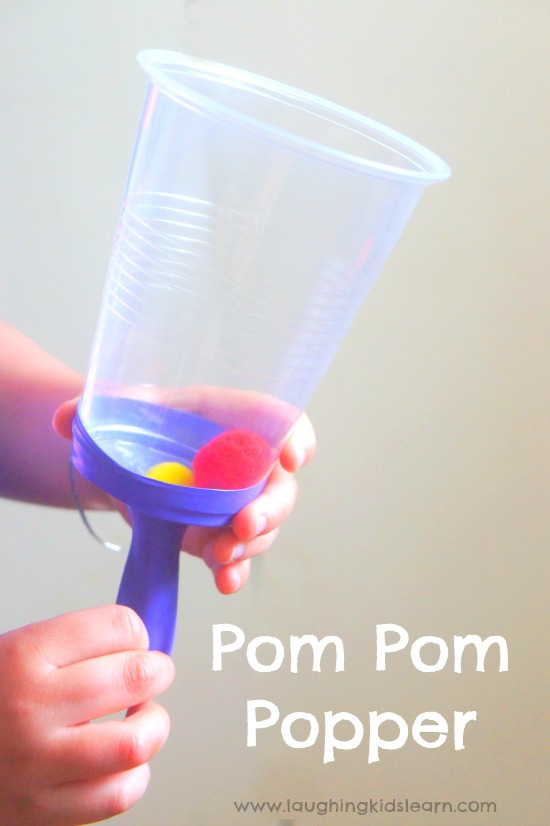
pompom science popper using a plastic cup and balloon. #simplescienceideas #diytoy


Pom Pom Popper Using a Plastic Cup and Balloons – Laughing Kids Learn

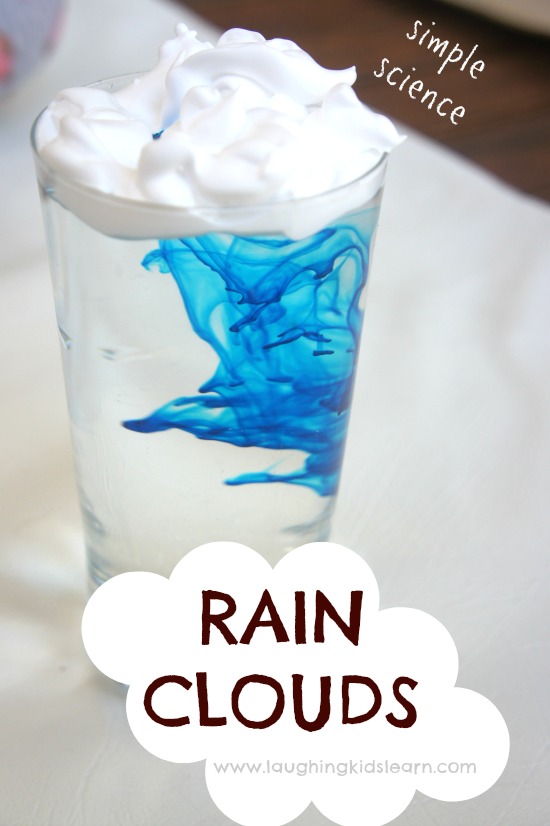
making rain cloud science activity with shaving cream, food coloring and water in a glass.


Rain Cloud Science Experiment – Laughing Kids Learn

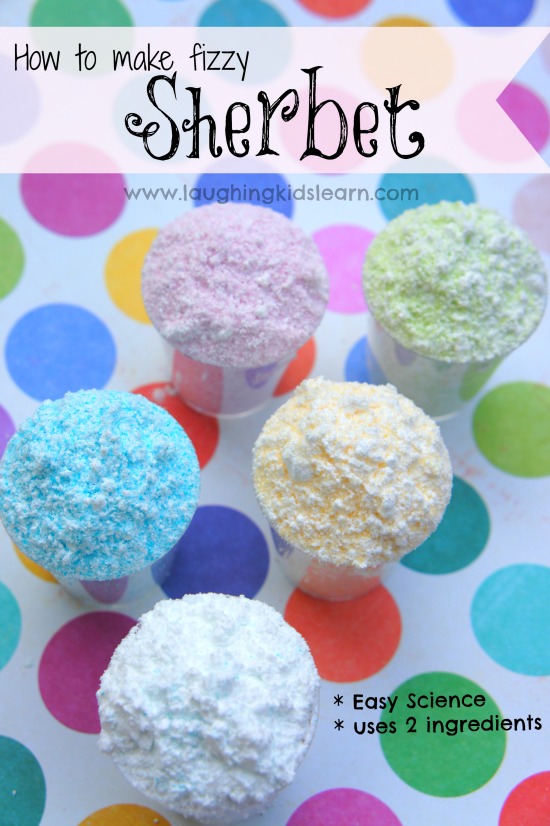
how to make fizzy sherbet at home using citric acid and jelly crystals. So delicious and edible science fun.


How to Make Sherbert – Laughing Kids Learn


Blow Up a Balloon Using Science – Laughing Kids Learn


Sink or Float Experiment with Nature – Laughing Kids Learn

Skittles Rainbow – Fun With Mama


LEGO freeze – Laughing Kids Learn


Climbing Rainbows – Coffee Cups and Crayons

Salt, Sugar, and Flour Toddler Science Experiment – Mom Dot

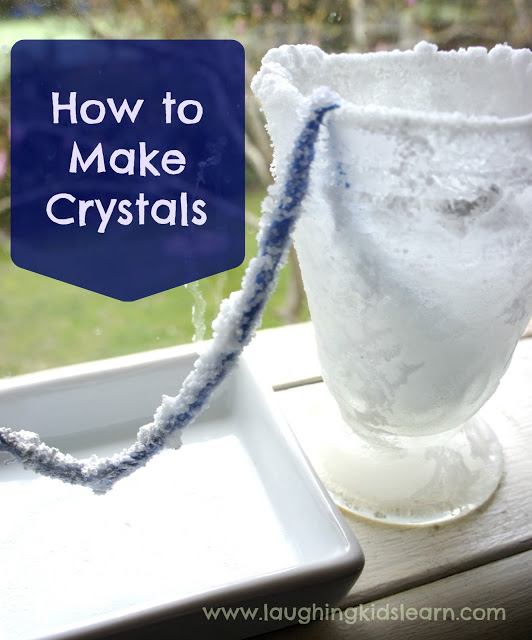
How to make crystals at home for science home learning program.


How to Make Crystals – Laughing Kids Learn


Growing Ice – Teach Preschool


Oil and Water Science Experiment – Happy Hour Projects

Oil and Water Sensory Bag – Everyday Chaos and Calm


Rainbow Unicorn Toothpaste Science Experiment – Science Kiddo


Sink or Float with Oranges – This Little Home of Mine


Dancing Rice Experiment – Green Kid Crafts

Magic Pepper and Soap Experiment – Coffee Cups and Crayons


Arctic Animals Science Experiment – Forgetful Momma

Exploring vegetable seeds – Lemon Lime Adventures

Hopefully you’ve been able to find some great simple science ideas to try at home with your children. Science is a great entertainer.

Is there one science activity that has caught your eye to try?

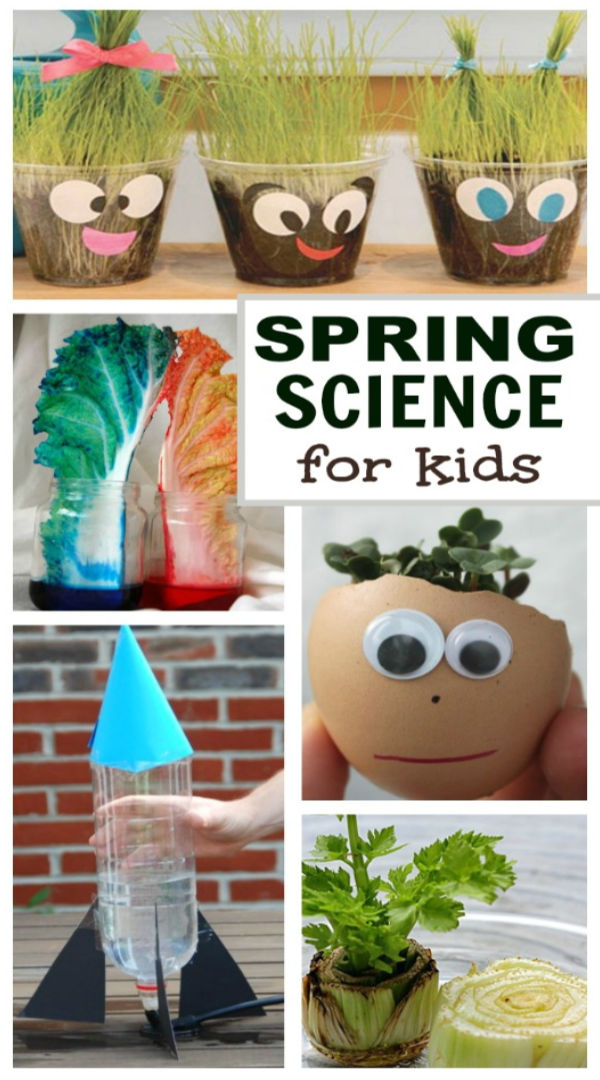
Spring Science for Kids

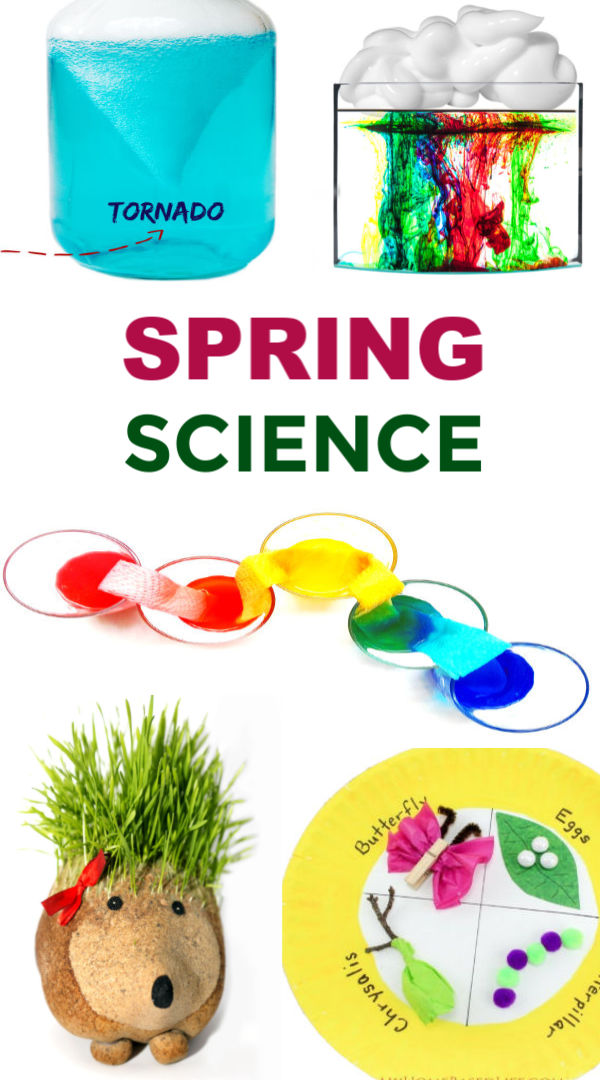
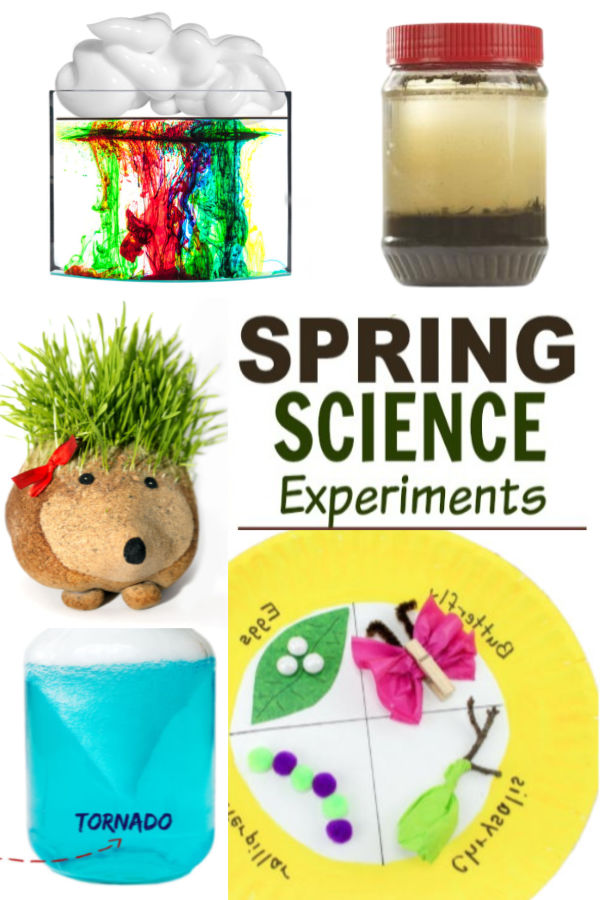
SPRING SCIENCE FOR KIDS- 30 FUN ACTIVITIES! #scienceexperimentskids #springscienceactivitiespreschool #springexperimentsforkids #springcrafts #growingajeweledrose #activitiesforkids

Why is the sky blue, what is a cloud, and why does it rain?

16 seconds of 30 seconds

Volume 0%


These 

spring science experiments

 will help to answer all of those little questions & more!  


SPRING SCIENCE FOR KIDS- 30 FUN ACTIVITIES! #scienceexperimentskids #springscienceactivitiespreschool #springexperimentsforkids #springcrafts #growingajeweledrose #activitiesforkids


Maximize Your Tax OutcomeGet tax prep up to 30% less vs. cost of a typical accountant.SPONSORED BY H&R BLOCKBOOK NOW

For all the best kids activities follow us on Pinterest & Facebook.

Spring Science Experiments for Kids

SPRING SCIENCE FOR KIDS- 30 FUN ACTIVITIES! #scienceexperimentskids #springscienceactivitiespreschool #springexperimentsforkids #springcrafts #growingajeweledrose #activitiesforkidsLearn all the things with these fun spring science experiments for kids! #scienceexperimentskids #springscienceactivitiespreschool #springexperimentsforkids #springcrafts #growingajeweledrose #activitiesforkidsLearn all the things with these fun spring science experiments for kids! #scienceexperimentskids #springscienceactivitiespreschool #springexperimentsforkids #springcrafts #growingajeweledrose #activitiesforkidsLearn all the things with these fun spring science experiments for kids! #scienceexperimentskids #springscienceactivitiespreschool #springexperimentsforkids #springcrafts #growingajeweledrose #activitiesforkidsLearn all the things with these fun spring science experiments for kids! #scienceexperimentskids #springscienceactivitiespreschool #springexperimentsforkids #springcrafts #growingajeweledrose #activitiesforkidsLearn all the things with these fun spring science experiments for kids! #scienceexperimentskids #springscienceactivitiespreschool #springexperimentsforkids #springcrafts #growingajeweledrose #activitiesforkidsLearn all the things with these fun spring science experiments for kids! #scienceexperimentskids #springscienceactivitiespreschool #springexperimentsforkids #springcrafts #growingajeweledrose #activitiesforkidsLearn all the things with these fun spring science experiments for kids! #scienceexperimentskids #springscienceactivitiespreschool #springexperimentsforkids #springcrafts #growingajeweledrose #activitiesforkidsLearn all the things with these fun spring science experiments for kids! #scienceexperimentskids #springscienceactivitiespreschool #springexperimentsforkids #springcrafts #growingajeweledrose #activitiesforkidsLearn all the things with these fun spring science experiments for kids! #scienceexperimentskids #springscienceactivitiespreschool #springexperimentsforkids #springcrafts #growingajeweledrose #activitiesforkids

MORE

for

KIDS:

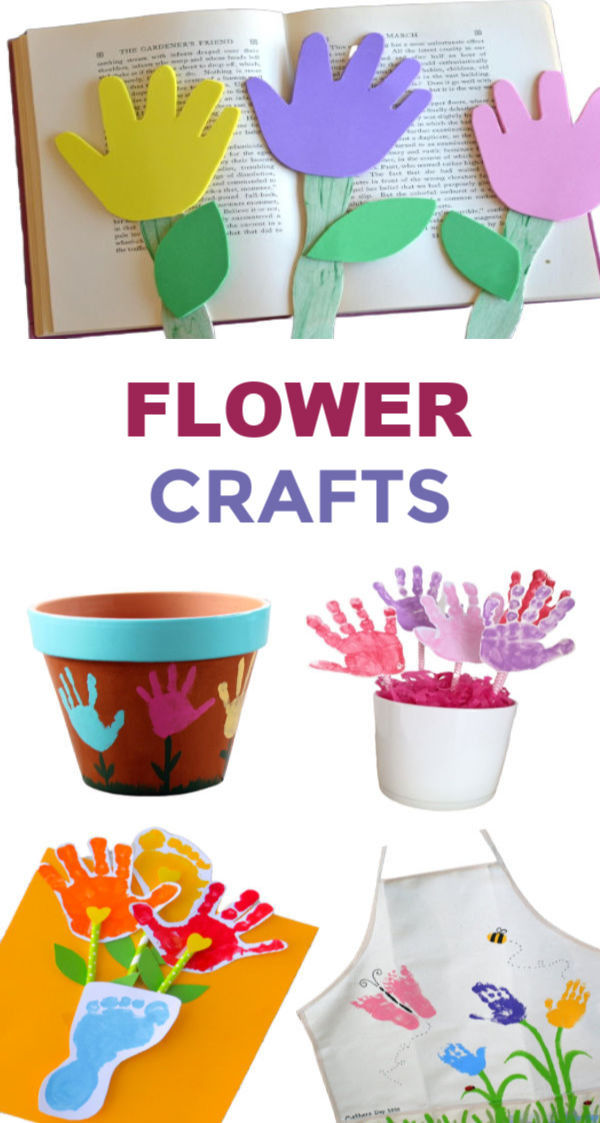
Spring flower crafts for kids to make using their hand-prints. #handprintart #handprintflowers #springcrafts #flowercraftsforkids #springflowers #growingajeweledrose


Disney+

Now Streaming On Disney+Ewan McGregor returns in Obi-Wan Kenobi, a new limited series from Star WarsSPONSORED BY DISNEY+SIGN UP


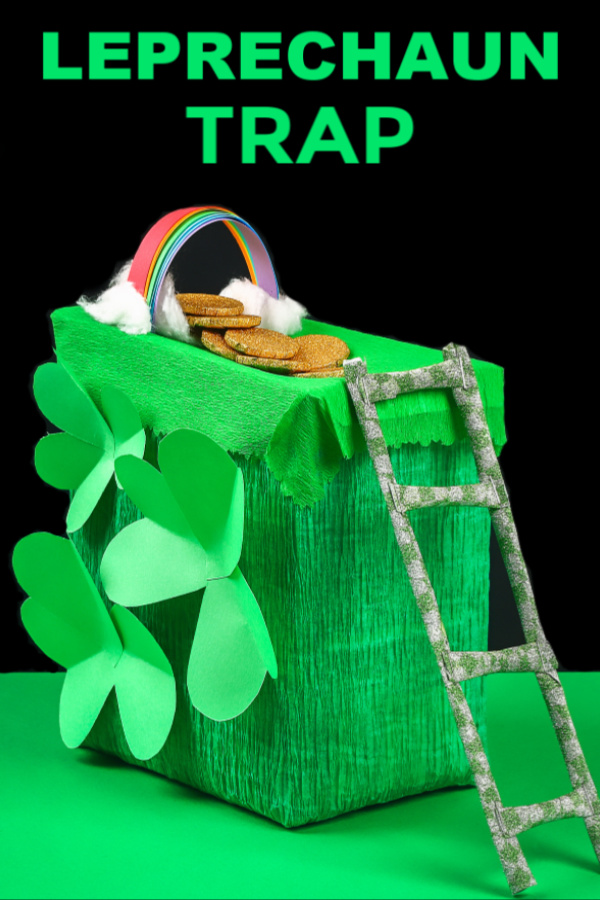
Make a lucky leprechaun trap for kids!  This St. Patrick's Day craft activity is just too fun!  Can you catch a leprechaun? #leprechauntrapforkids #leprechauncraft #leprechauntrapideas #leprechauntrap #leprechaun #stpatricksdaycraftsforkids #stpatricksday #growingajeweledrose


If you enjoyed this post please 

pin it

 and 

share it

 with friends.


Learn all the things with these fun spring science experiments for kids! #scienceexperimentskids #springscienceactivitiespreschool #springexperimentsforkids #springcrafts #growingajeweledrose #activitiesforkids


Learn all the things with these fun spring science experiments for kids! #scienceexperimentskids #springscienceactivitiespreschool #springexperimentsforkids #springcrafts #growingajeweledrose #activitiesforkids


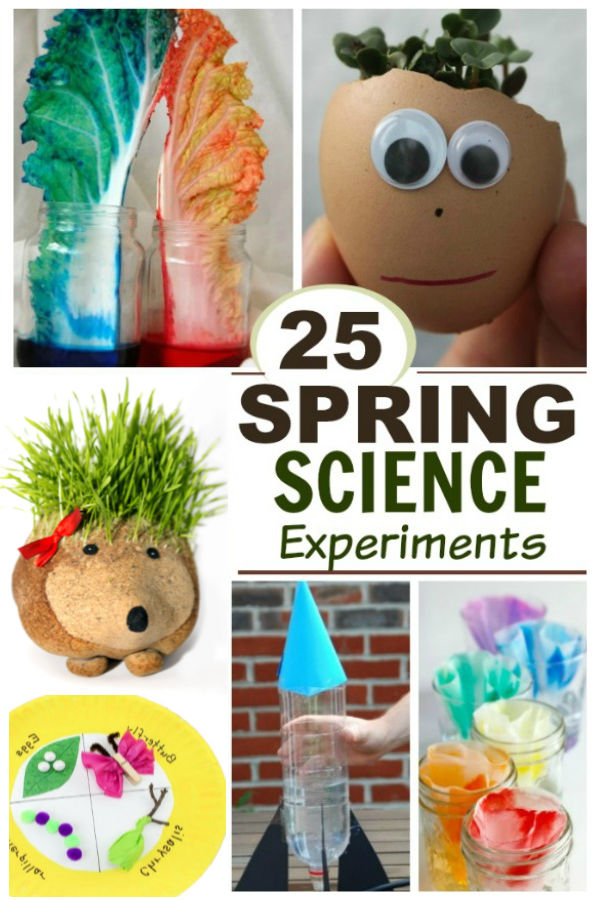
Spring science experiments for kids. 30+ ideas! #scienceexperimentskids #springscienceactivitiespreschool #springexperimentsforkids #springcrafts #growingajeweledrose #activitiesforkids

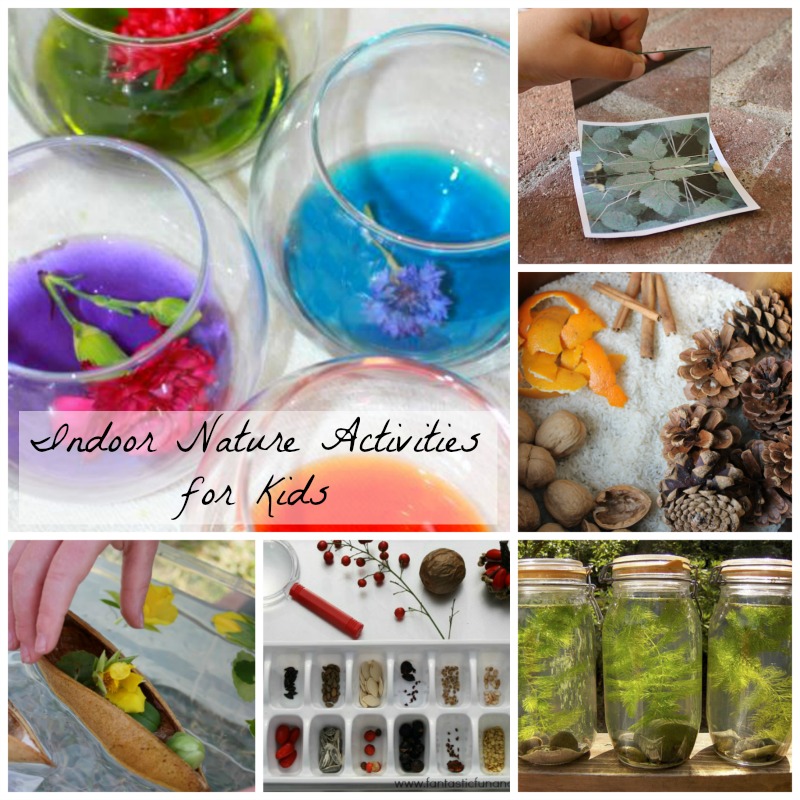
Indoor Nature Activities for Kids

May 5, 2016 by Sarah 8 Comments

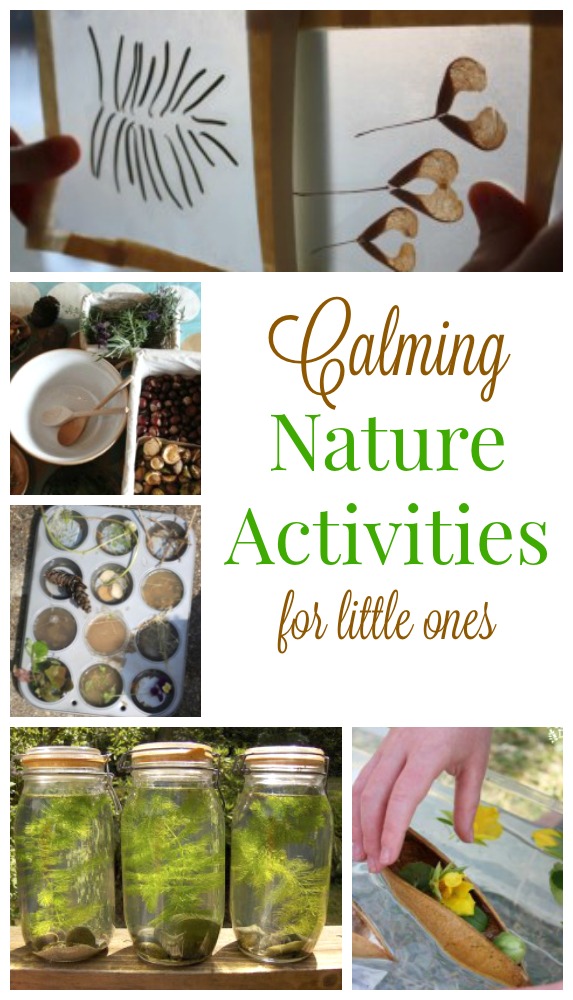
I have found that exploring nature items is very calming for my little ones.Our newest rhythm is really focusing on calming activities for kids (Speaking of which, have you discovered Clever’s New Trick? It’s a social story I wrote about helping little ones learn to calm down. You can read more about it by clicking here.) And so, I had thought of this old post – and thought, perhaps you might like to re-visit it as well?

Loads of calming nature play here. Here’s the post, I hope you like it:

I love being outside with my kids.  We go outside every single day.  I feel it is a relaxing and recharging time for them, being outside and active in nature.

But of course we are not outside all day.  So when we are not, I love to bring the outdoors in.  Indoor nature activities for kids are full of learning and sensory exploration too – so many benefits for wee ones!

Indoor nature activities for kids

I selected these indoor nature activities for kids from some wonderful blogs – many of which have lots of ideas for nature play, inside and out!

Here are 12 creative indoor nature activities for kids:

1.  I thought we would start of with our natural sensory bin.  It is a favourite activity of mine (I mean … of my kids …) as it is so relaxing and calming.
nature based sensory bin

2.  My Nearest and Dearest brought the outdoors inside with her sink or float sensory sink.  Such a beautifully simple idea to do any time and any season!


Indoor nature activities for kids

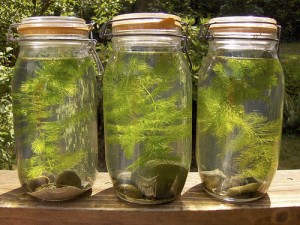
3.  Have you ever made a biosphere?  It is on my to-do list with my kids very soon.  And I hadn’t realized how simple it was!  Makezine.com shows how very simple making a biosphere with kids is!

biosphere Indoor nature activities for kids

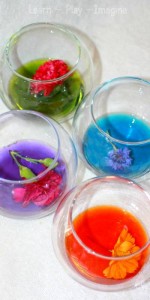
4.  A wonderful way to explore and create with nature is by making these gorgeous, vibrant water colours.  Learn, Play, Imagine has a great tutorial.  What a fun indoor nature activity!

Indoor nature craft for kids

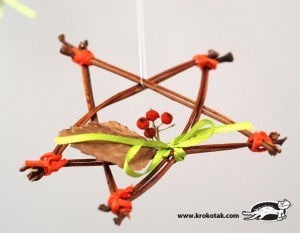
5.  These gorgeous nature stars are from Krokotak.  They are made from chestnut leaf stalks, but grapevine, or even bendy twigs would work too.  One of my big focuses with exploring nature indoors is keeping things simple – whatever we have close by is what we will be bending into these beautiful stars!!

Indoor nature activities for kids

6.  Sun hats and Wellie boots has tons of wonderful nature activities for kids!  This lovely idea uses nature items for some imaginative play in the kitchen.


Indoor nature activities for kids

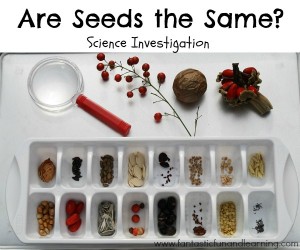
7.  I love how Fantastic Fun and Learning explored seeds over many days.  Collecting and gathering and then comparing too.  ‘Are the Seeds the Same?’ is a wonderful indoor nature activity!

Indoor nature activities for kids

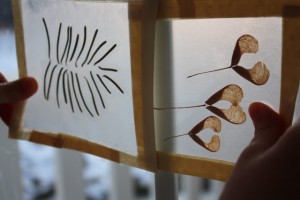
8.  My kids always want to keep their nature treasures.  This beautiful idea by Still Parenting will be put to great use in our house!  Making gorgeous light or sun catchers from nature items.

Indoor nature activities for kids

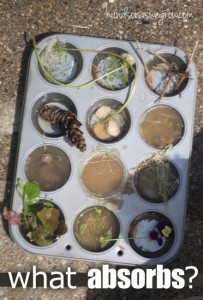
9.  Learning about absorption is so much fun for kids (truly … it was always an amazing hit in my Kindergarten classes!)  I love this twist by Hands on as we Grow – exploring what nature items absorb water.

Indoor nature activities for kids

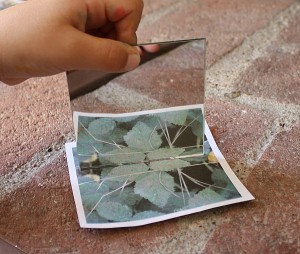
10.  When we stop to look, nature is truly amazing.  So many of the math, science, and language concepts we want our children to learn can be taught very naturally.  Buggy and Buddy did just that as they explored symmetry in this indoor nature activity for kids.

Indoor nature activities for kids


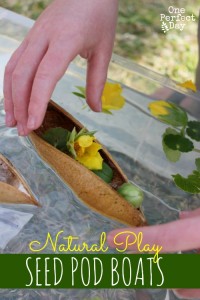
11.  Creating with nature is something we love to do.  We have made little boats from walnut shells for our gnomes journey, but I have never thought to turn seed pods into boats!  What a wonderful idea by One Perfect Day!

Indoor nature activities for kids

12.  This activity of ours was so much fun.  It did start with an outdoor nature walk and exploration, but the very best part was done indoors.  Here is how we explored the sense of taste with our nature walk.

Exploring the sense of taste in nature with wild edible plants

Being outside is wonderful for kids.  And bringing the outdoors inside is the next best thing!  These indoor nature activities for kids are full of learning, imaginative play, and creativity for your wee ones!  And, they are pretty fun for big people too.

These indoor nature activities are perfect for preschoolers. Fabulous quiet time activities to help kids calm down.


I will keep adding indoor nature activities as we post them to How Wee Learn, so you can find them all in one spot!

Thank you for reading friends, I hope you are having a lovely week.

Please consider following us on Pinterest so we can share more creative learning activities with you and your wee ones.

Recommended

Recommended ContentRecommended ContentRecommended ContentPin It


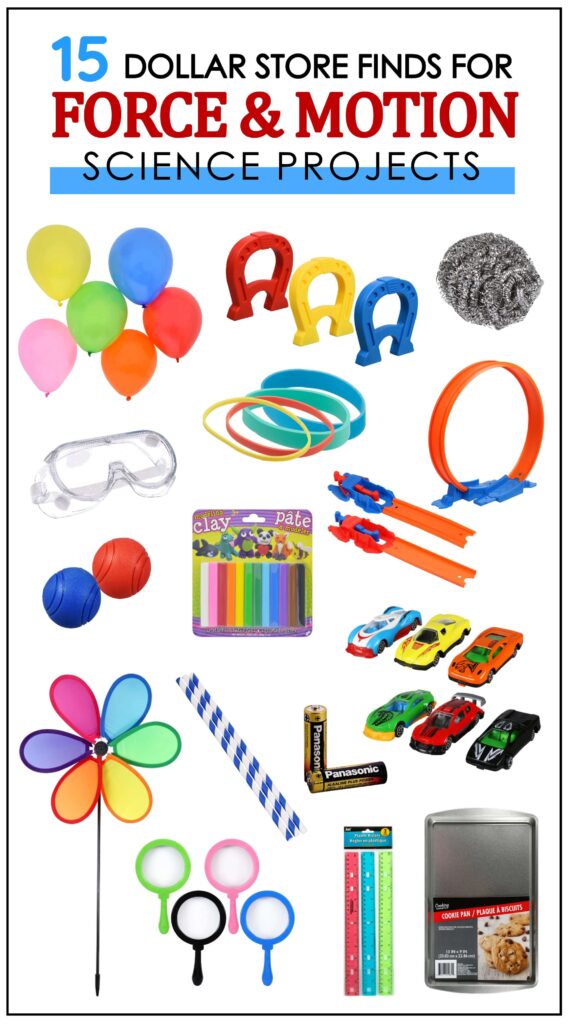
Dollar Store Science Materials for Teaching Force & Motion

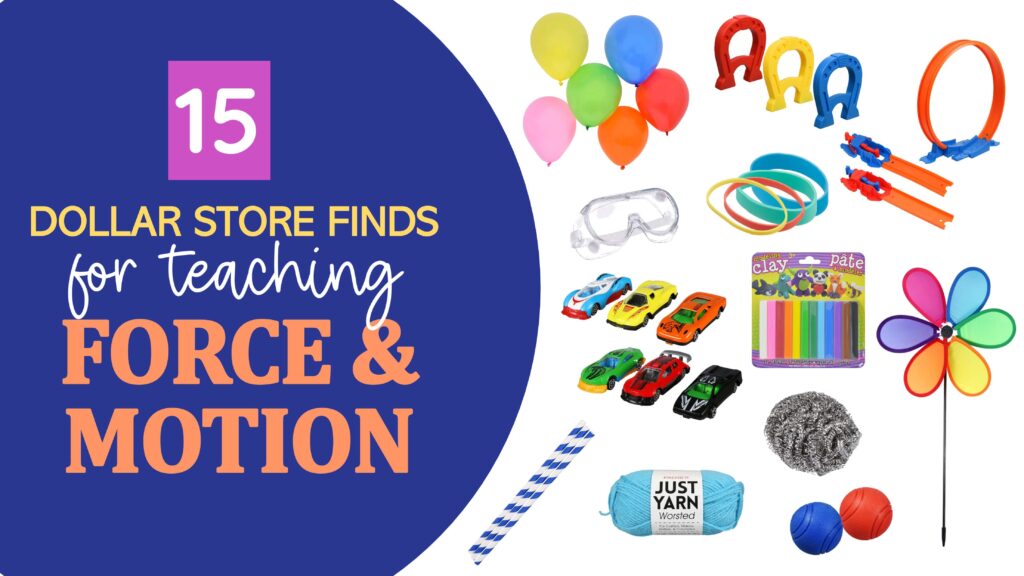
Hands-on force and motion activities are so fun for both me and my students, so I love discovering dollar store science materials to support my lessons and investigations. In this post I’ll share my list of dollar store must-haves for teaching any third grade Force & Motion unit.

I’ve included a little information on the ways I use these dollar store items in my force and motion investigations, but if you want to check out the full unit click here for this resource!

dollar store science materials for force and motion

Patterns of Motion Dollar Store Science Materials

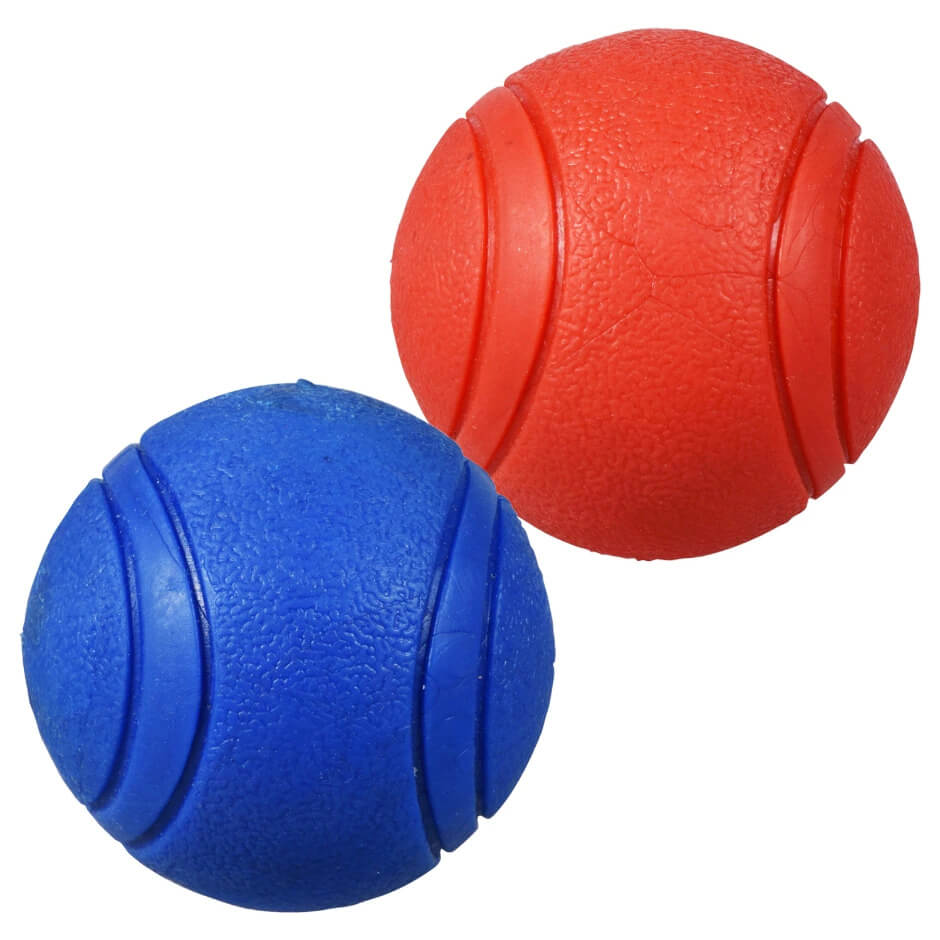
Bouncy balls

bounce balls dollar store science materials

One activity that is always a hit with my students is when we predict the pattern of motion of a bouncy ball. I have students work in pairs with one student as the ball dropper and one student as the measurer/recorder. The two students drop a bouncy ball and measure how high it bounces three times. Then, they predict the future motion of the ball for bounces 4 and 5.

We talk about the patterns of motion, as well as the forces acting on the ball. It’s such a fun activity and it really sticks in students’ brains!

Paper cups

cups dollar store science materials

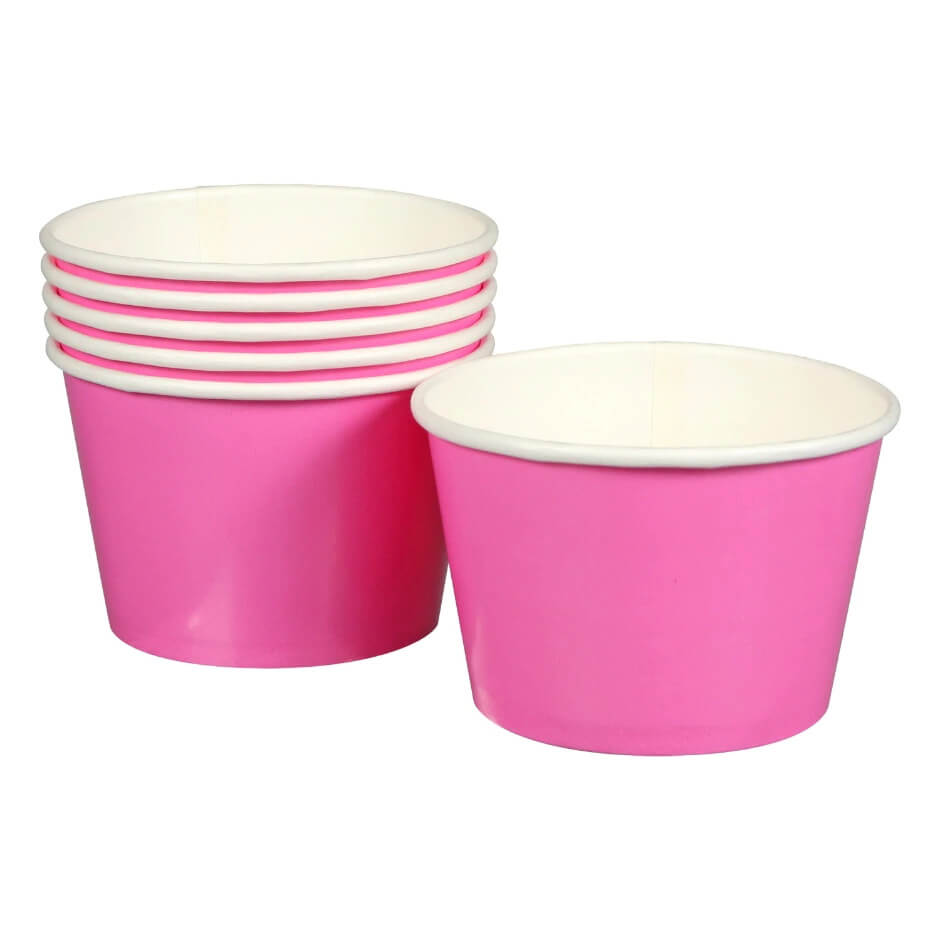
Small paper cups are great to use for a lot of things in the classroom, but I love also using these dollar store science materials for teaching about patterns of motion in third grade. First, we set up a ramp using cardboard and stacked textbooks. I show students the paper cup and ask them to predict its pattern of motion down the ramp and explain their thinking.

Then, we roll a paper cup down the ramp. Students notice that the paper cup goes toward one side instead of going straight down the ramp. We compare it with a cylinder-shaped object, like a can of soup, and we talk about how the two objects’ shapes affect their patterns of motion down the ramp.

After we talk about the patterns of motion of the cup down the ramp by itself, I give groups of students two cups and some tape. I ask them to work together to figure out how to make the cups go straight down the ramp instead of going to one side. If you tape the bottoms of the cups together, the cups will go straight down the ramp!

Party hats

Cone-shaped party hats can be used in the same way as the cups to help students practice predicting patterns of motion down a ramp. Giving multiple examples of objects that will exhibit a certain pattern really seals the deal with helping my students solidify their understanding of why the objects move that way.

Balanced & Unbalanced Forces Dollar Store Science Materials

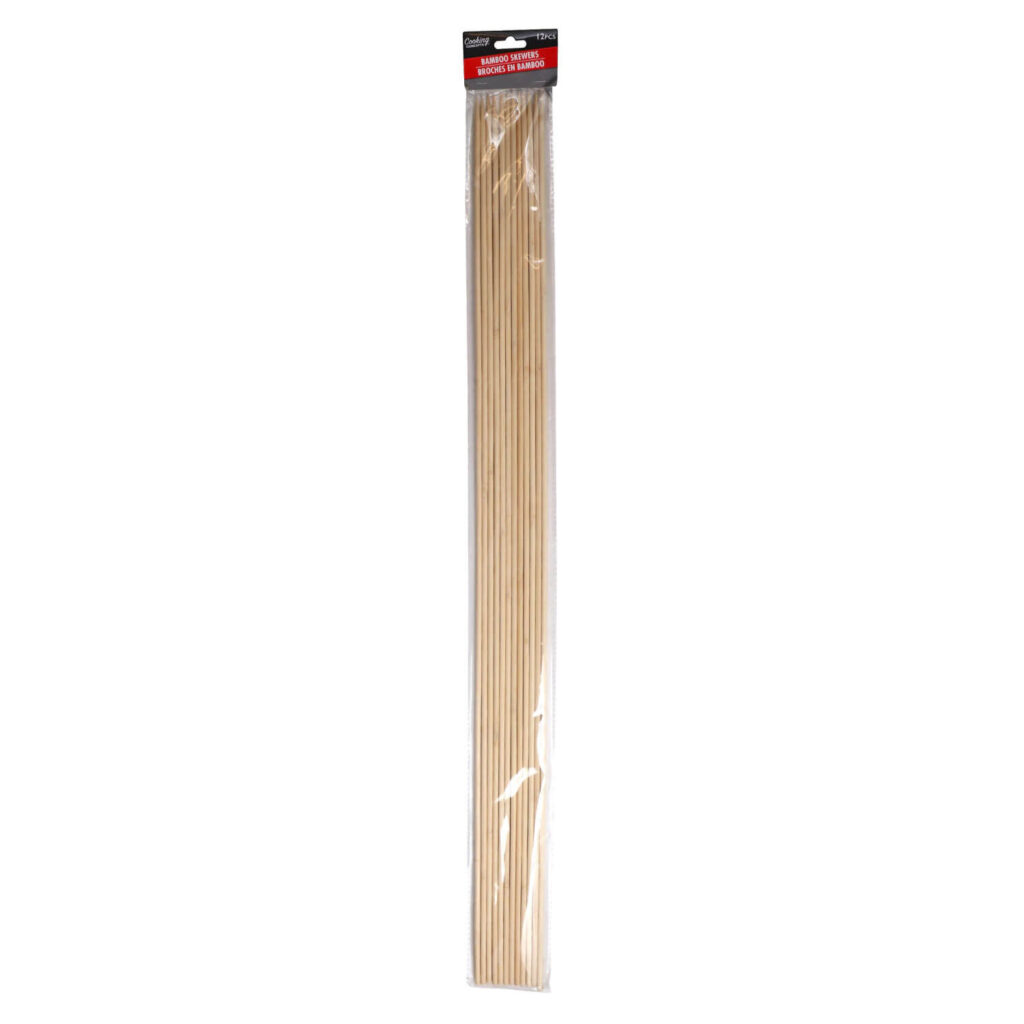
Wooden skewers

wooden skewers dollar store science materials

These wooden skewers are a key part of the activity I use to help students understand balanced forces at work. I have students design a structure that uses balanced forces to hold up a steel ball. Students get wooden skewers, different kinds of magnets, yarn, a rubber band, and clay to make their structures. These are great hands-on dollar store science materials to really get students thinking about balanced forces!

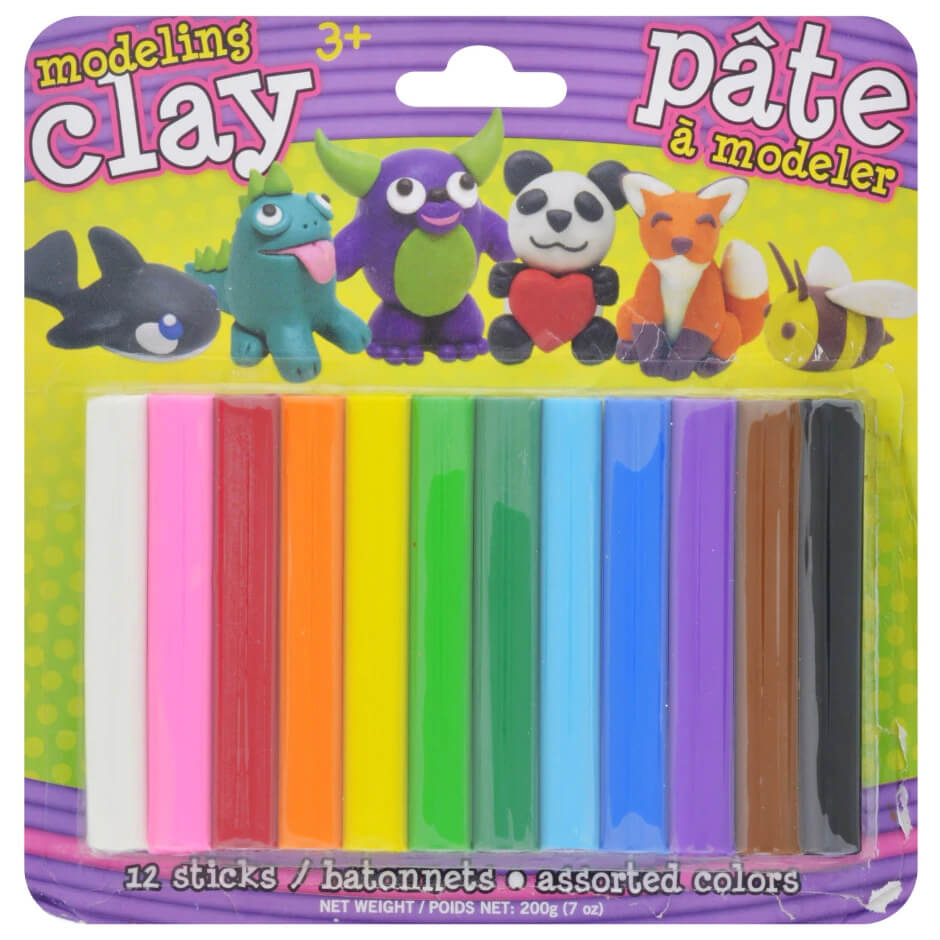
Clay

clay dollar store science materials

Another material for the balanced forces activity is clay, which is also available at the dollar store. The clay can be rolled into balls and used to connect the wooden skewers together for the structures students make.

Contact & Non-contact Forces Dollar Store Science Materials

Dominoes

Dominoes are awesome for giving a great visual of a chain reaction caused by forces! I like to give dominoes as a material to use when I have students build a chain reaction machine. It’s so fun to see them explore forces in this hands-on way!

For the Building a Chain Reaction Machine activity, I give students a variety of options to use for materials. I show examples of these machines in videos and we discuss the forces at work. Then, I let students plan and create their own! There’s basically just one general guideline: their structures must include at least one contact force, one noncontact force, and one magnetic force.

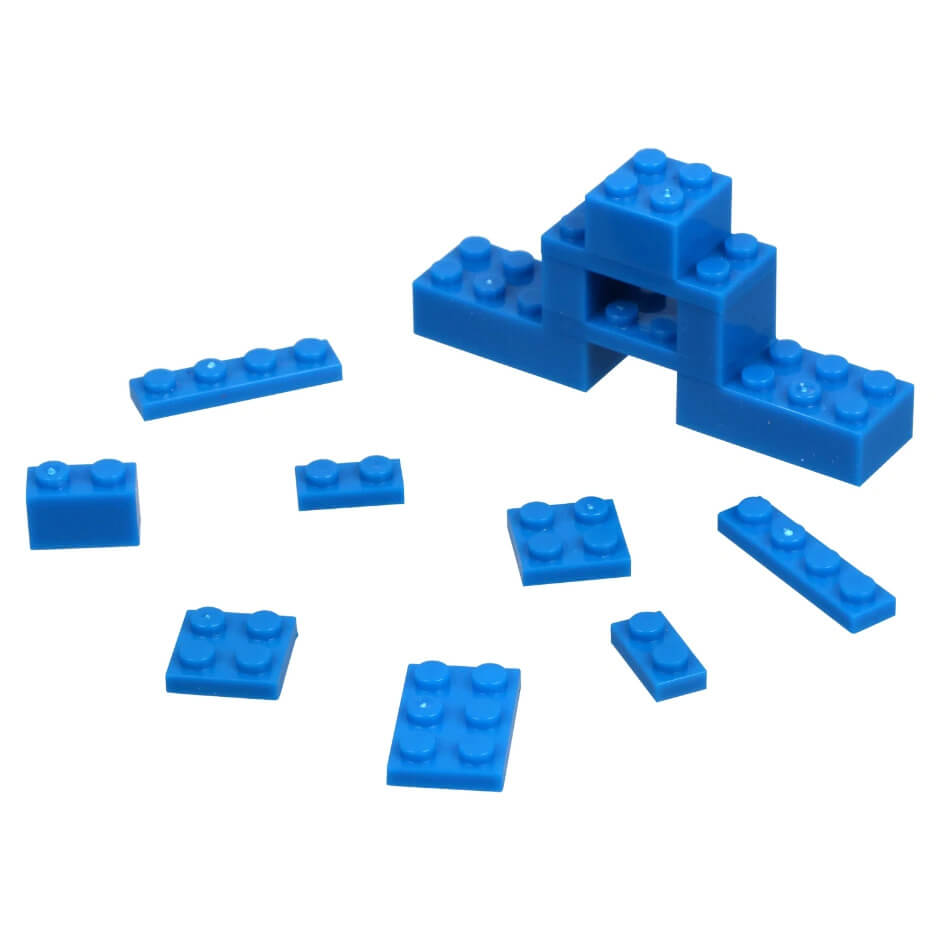
Legos

legos dollar store science materials

I love having Legos in my classroom to provide an option for indoor recess, so I’m glad they’re available at the dollar store! They’re also perfect for so many STEM activities, and I always make these dollar store science materials an option to use for the Building a Chain Reaction Machine activity.

Wooden blocks

These wooden blocks are available at the dollar store, and they can be used for several third grade force and motion activities. They’re another material I let students choose to use for the Building a Chain Reaction Machine activity.

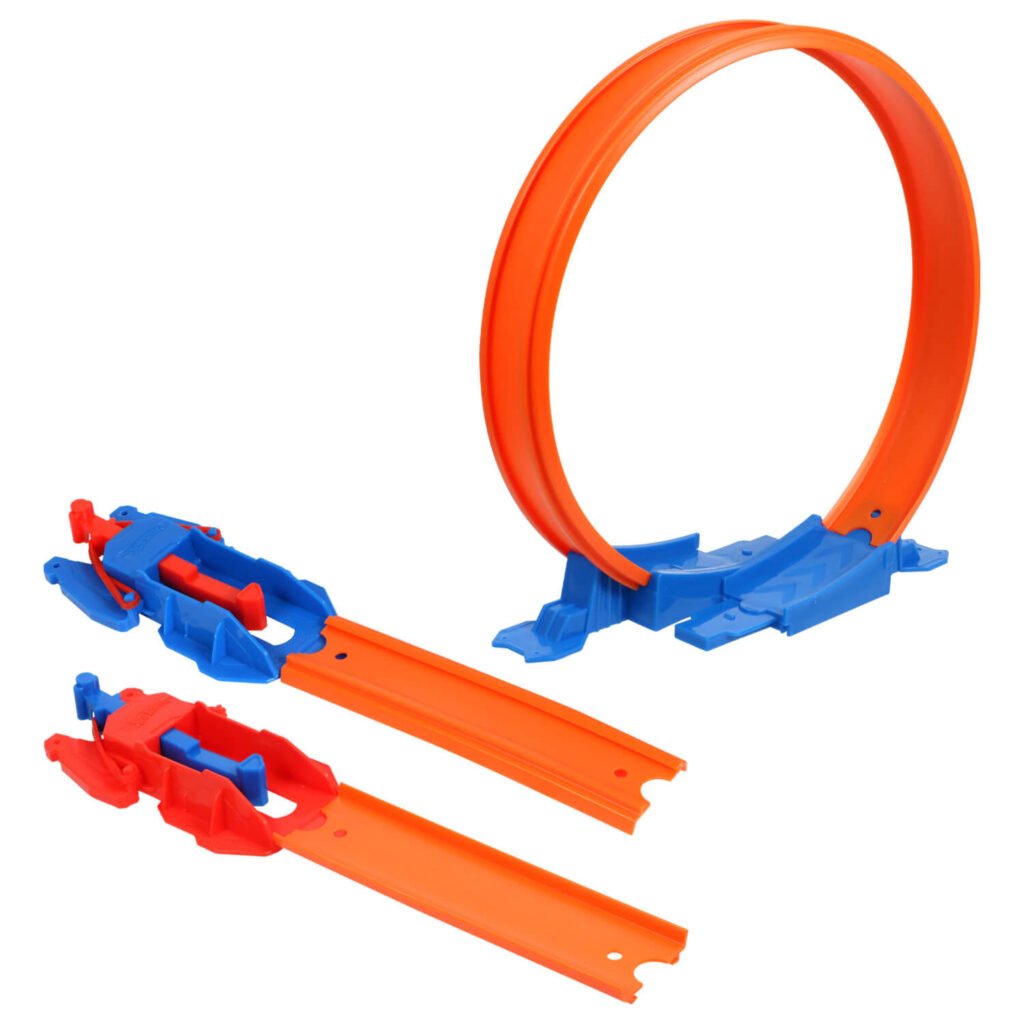
Race car track

race car track dollar store science materials

Mini race car tracks are available at the dollar store, and they are perfect to provide as another building material in the Building a Chain Reaction Machine activity. I love seeing what creative ideas students come up with by using all of these materials!

Magnetism & Electromagnets Dollar Store Science Materials

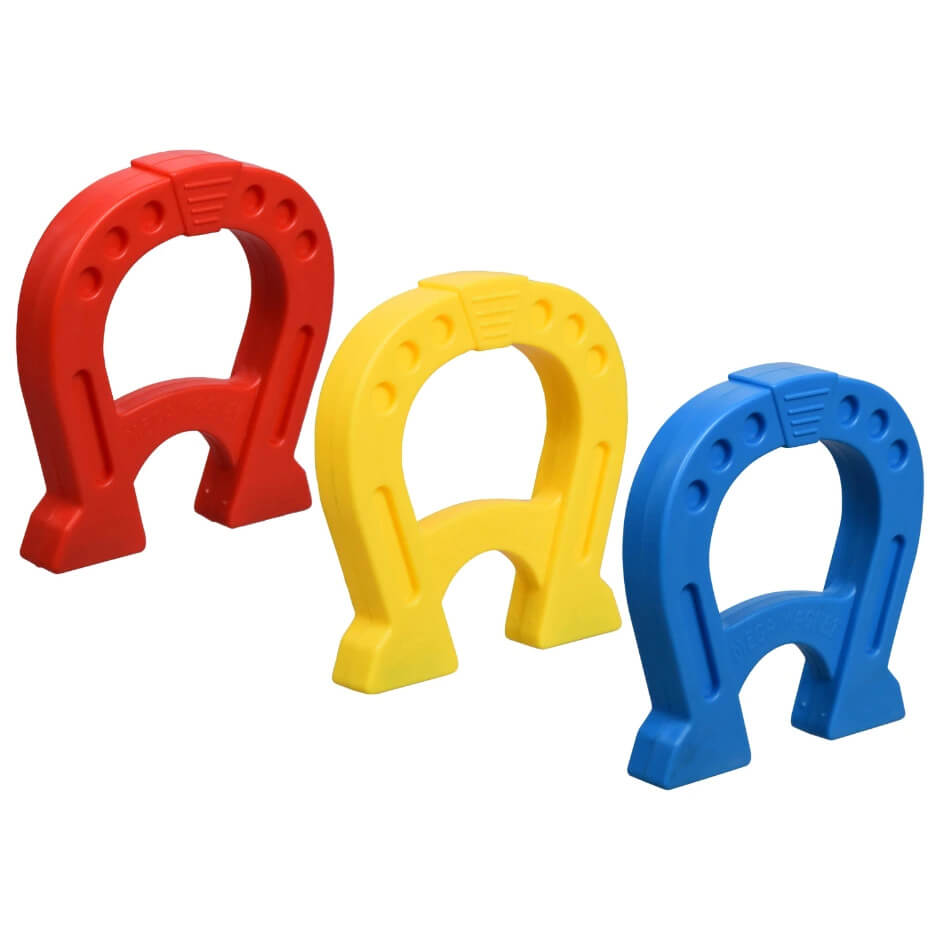
Magnets

magnets dollar store science materials

A variety of magnets are a must-have for teaching third grade forces and motions activities! I’ve never had a student who was not fascinated with hands-on magnetism investigations, so I always stock up on some different magnet options that the dollar store offers.

Batteries

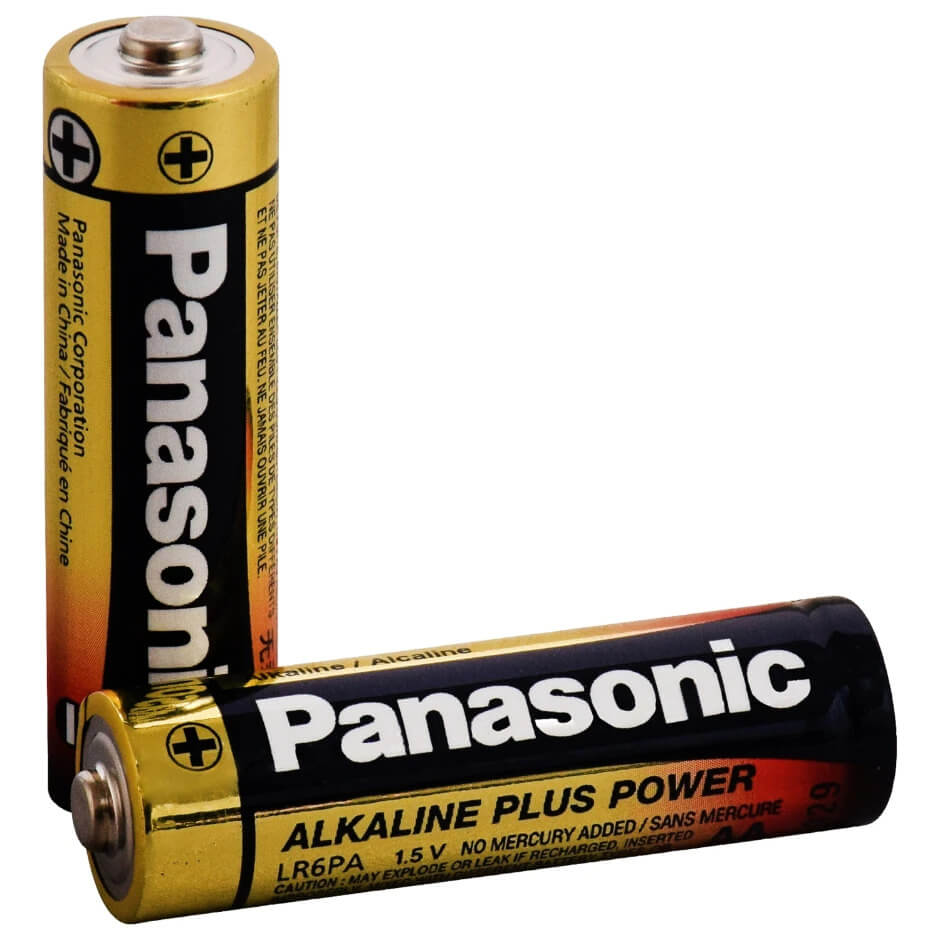
batteries dollar store science materials

One of the last investigations in my Force & Motion unit allows students to use a AA battery, copper wire, a magnet, and a few other materials to build a device that can sort metal by weight. They basically get a chance to create their own little electromagnet! So if you’re at the dollar store be sure to scoop up these dollar store science materials and have students try solving this real world problem.

Safety pins

We use safety pins from the dollar store as one of the items that get sorted in our electromagnet investigation. Students will be able to pick up safety pins with their magnets.

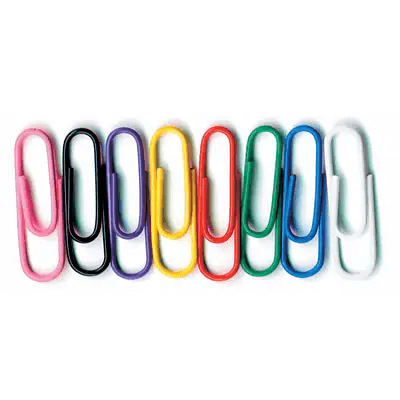
Paperclips

paper clips dollar store science materials

No hands-on magnetic force activities would be complete without paperclips! There are so many different ways to show magnetic force using magnets and paperclips. Even just spreading paperclips on the floor and having students pick them up with magnetic force can be exciting and fun for students (and simple for teachers!)

Wooden cubes

We use wooden cubes from the dollar store as one of the materials to test out what objects magnetic force acts on. They can also be used for the Building a Chain Reaction Machine activity.

Build a solid foundation for science

Grade Level

Second Grade Science & Engineering posters

Third Grade Science & Engineering posters

Send me the posters

Your personal email is recommended as schools often block outside emails with attachments and I don't want you to miss your freebie!


Craft sticks

I use the thicker craft sticks that you can get at the dollar store to do a ton of my force and motion activities. My students especially love the Measuring a Magnetic Field activity we use them for. Students get a bar magnet, a paperclip, yarn, a ruler, and a craft stick. They tape the magnet to the craft stick, then use the paperclip tied to yarn to measure the magnetic field of the magnet.

Exploring Electricity Dollar Store Science Materials

Balloons

balloons dollar store science materials

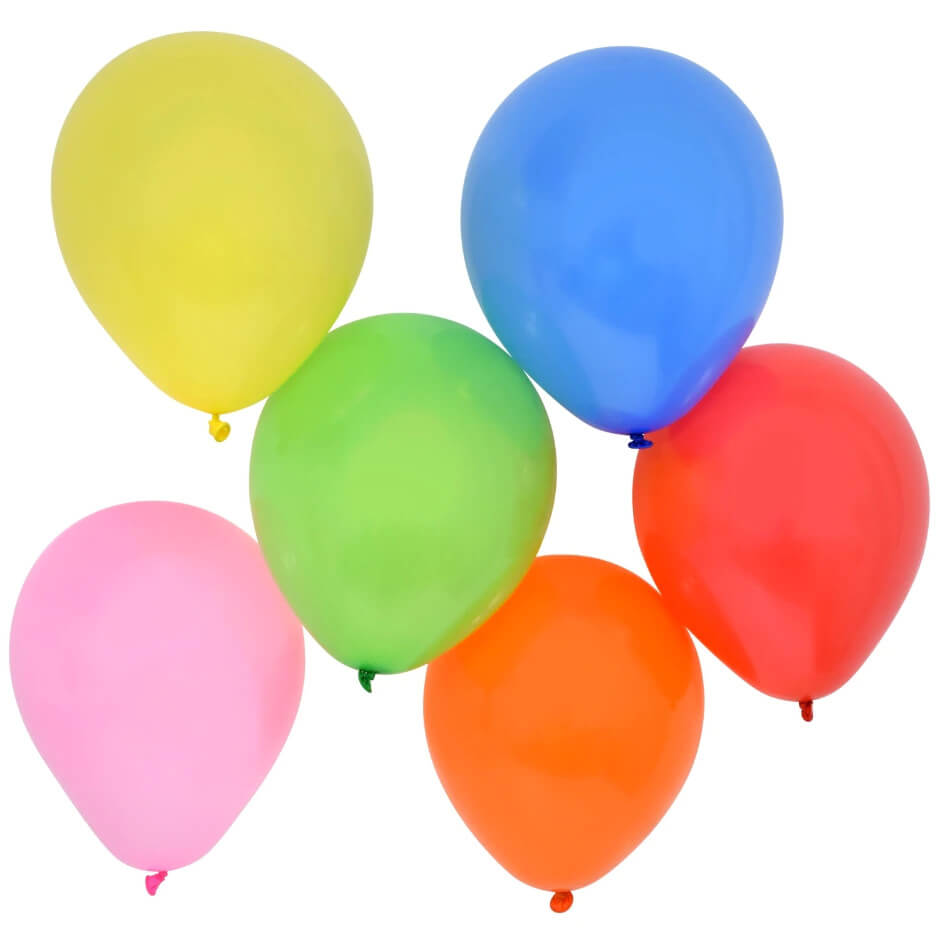
We use dollar store balloons for a ton of stuff, but they are especially important with our electricity investigations. It’s so fun to see my students’ faces light up when we do our investigation exploring how electric force can levitate objects!

To do this activity, we use a dish towel and rub it on a blown up balloon to create static electricity. Then we cut part of a plastic bag and rub the dish towel on that. After that, we hold the piece of the plastic bag over the balloon and release it! The electric charges will cause the piece of the plastic bag to levitate over the balloon.

Pool noodles

pool noodle dollar store science materials

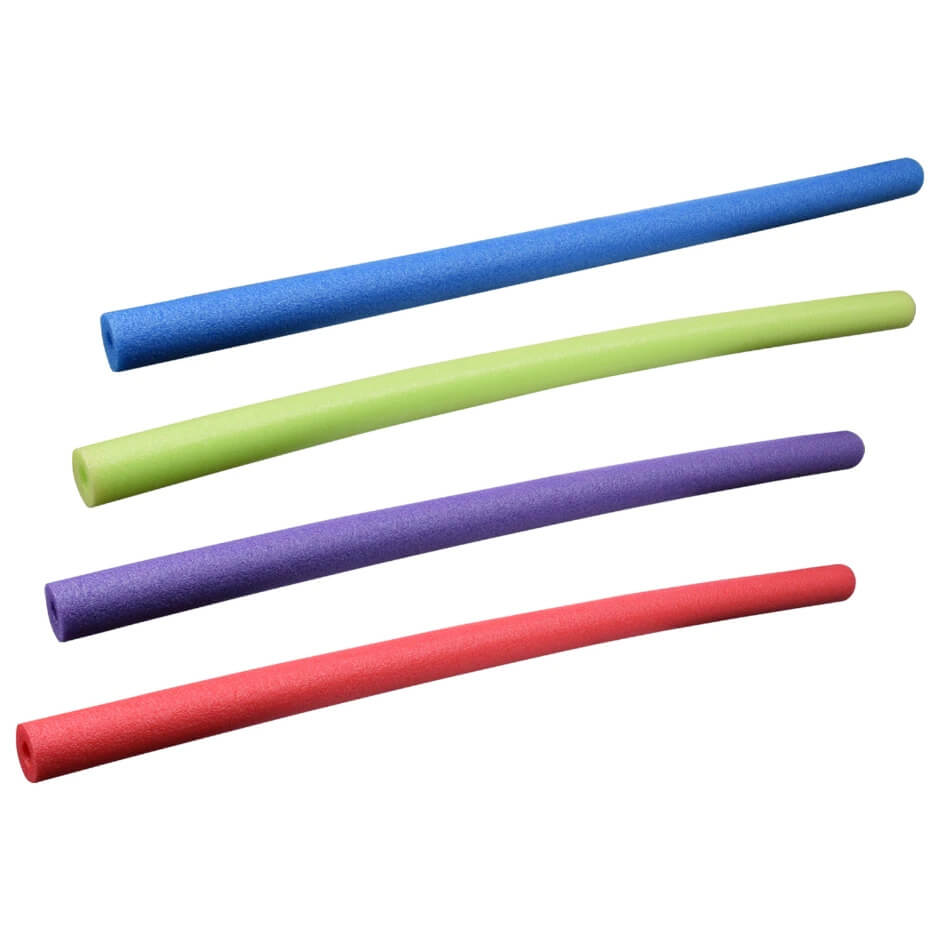
We also use dollar store pool noodles in our electric force levitation activity! We rub the same dish towel on a piece of a pool noodle. Then we test if it can be electrically charged to levitate the piece of the plastic bag!

Force and Motion Lesson Plans

If you’re teaching a unit on force and motion or patterns of motion soon these science units have you covered with detailed lesson plans, high engagement teaching Powerpoint, STEM activities, assessments and more! Click here to see the Force and Motion units.

forces and motion science units for 3rd grade

I hope you’re able to snag these dollar store science materials for teaching force and motion at your local dollar store! Pin this post to come back to it while you’re shopping!

dollar store science materials for teaching force and motion

If you’re looking for more Force & Motion activities, take a look at these posts:

15 Force And Motion Activities For Third Grade

fore and motion science activities

Measuring a Magnetic Field Science Experiment


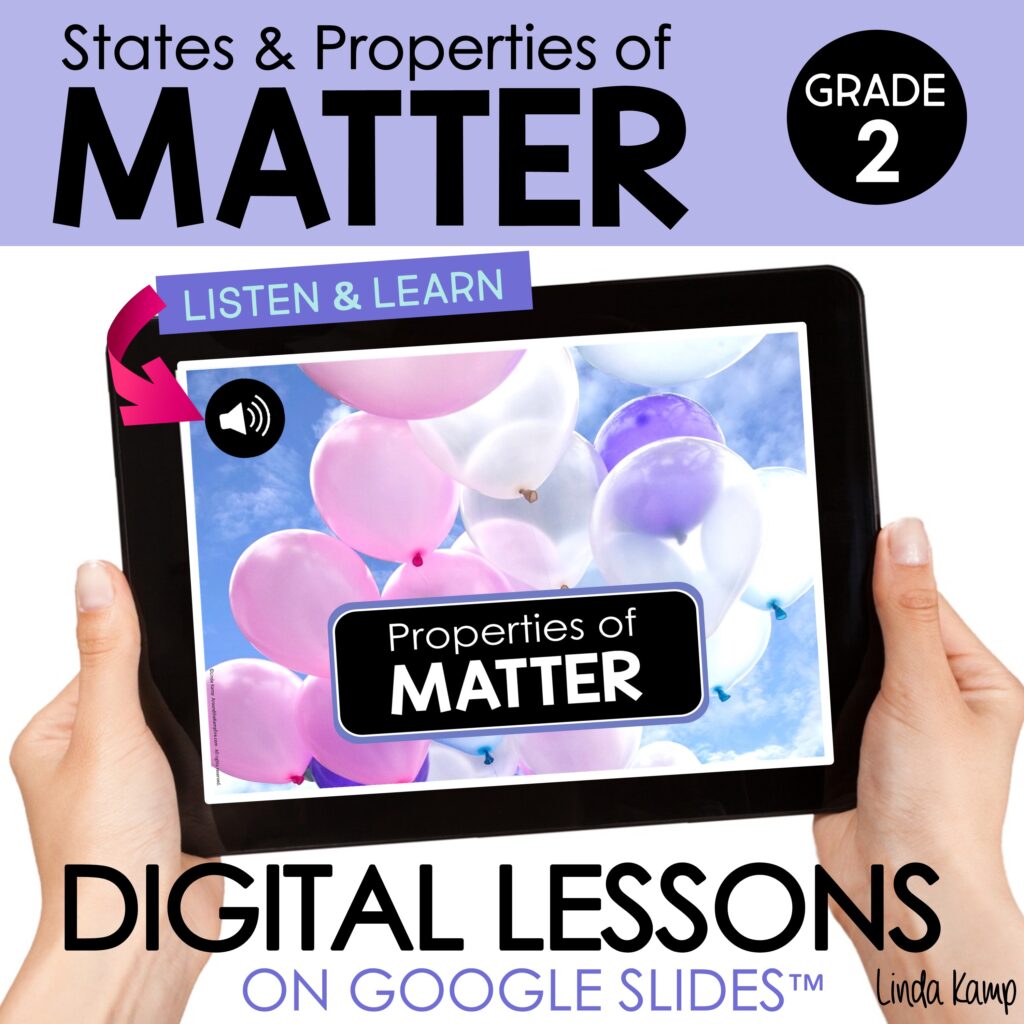
Properties of Matter Activities Primary Scientists

Learning about the properties of matter is a highlight in second grade. In this post I’ve collected some of my favorite science activities that are aligned to NGSS, hands-on, and fun!  Read on to find fresh teaching ideas and engaging properties of matter activities that will both excite and inspire your 2nd grade scientists!

Second Grade Properties of Matter Activities

In second grade, students build on prior science knowledge and expand their understanding. They investigate ways that matter can change and whether these changes are reversible. We explore the effects of temperature and teach students to test and measure the properties of objects then apply their knowledge to real world situations. Students become familiar with science and engineering practices as they plan and carry out investigations, make observations, collect and analyze data, construct explanations, and design solutions to problems.

Here are a few of my favorite lessons, activities and experiments for teaching states and properties of matter in second grade.

Properties of Matter Activities & Experiment

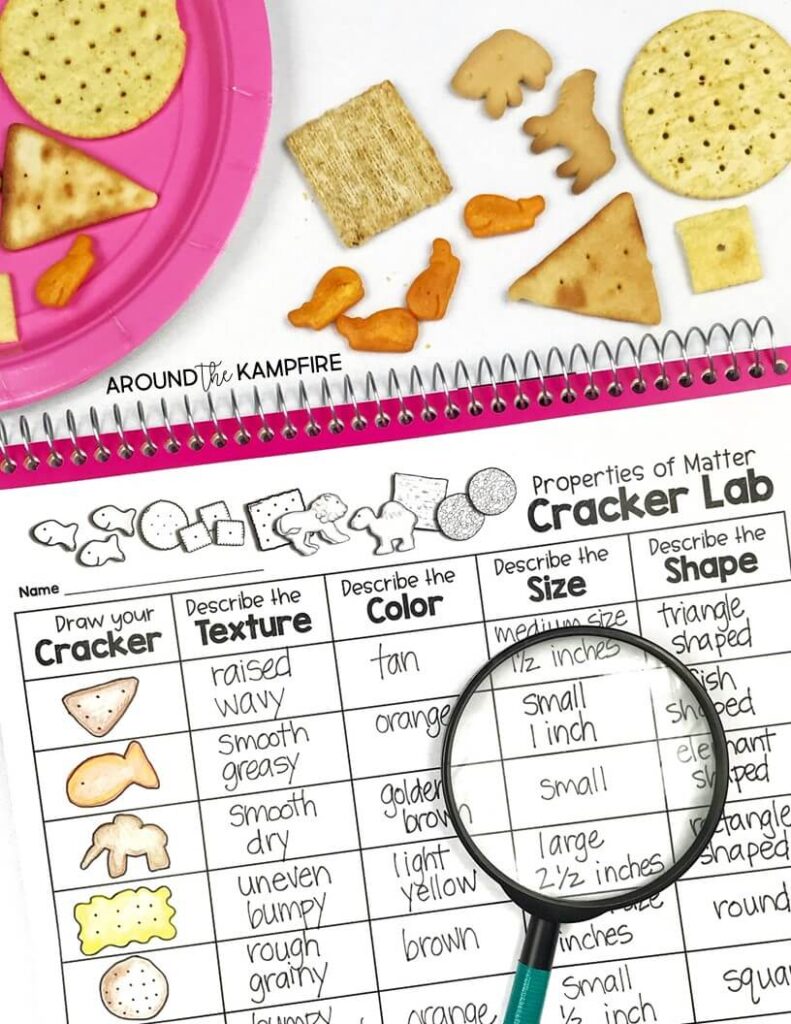
Describe the properties. Eat the matter!

Scientists describe matter by their features or properties. This simple cracker lab gives students the opportunity to look closely at different types of crackers to describe and compare their size, shape, color and texture.

Properties of matter activities and experiments for 2nd grade. Describing properties cracker lab science activity. Students describe shape, color, size, and texture.

 Source: Properties of Matter 2nd Grade Science

Test the properties of everyday objects

Scientists often test objects for flexibility, hardness, absorbency and buoyancy. They may also test if an object is magnetic.

Properties of matter activities and experiments for 2nd grade. Learn creative teaching ideas and fun, hands-on science activities for kids learning about solids, liquids, and gas in second grade.

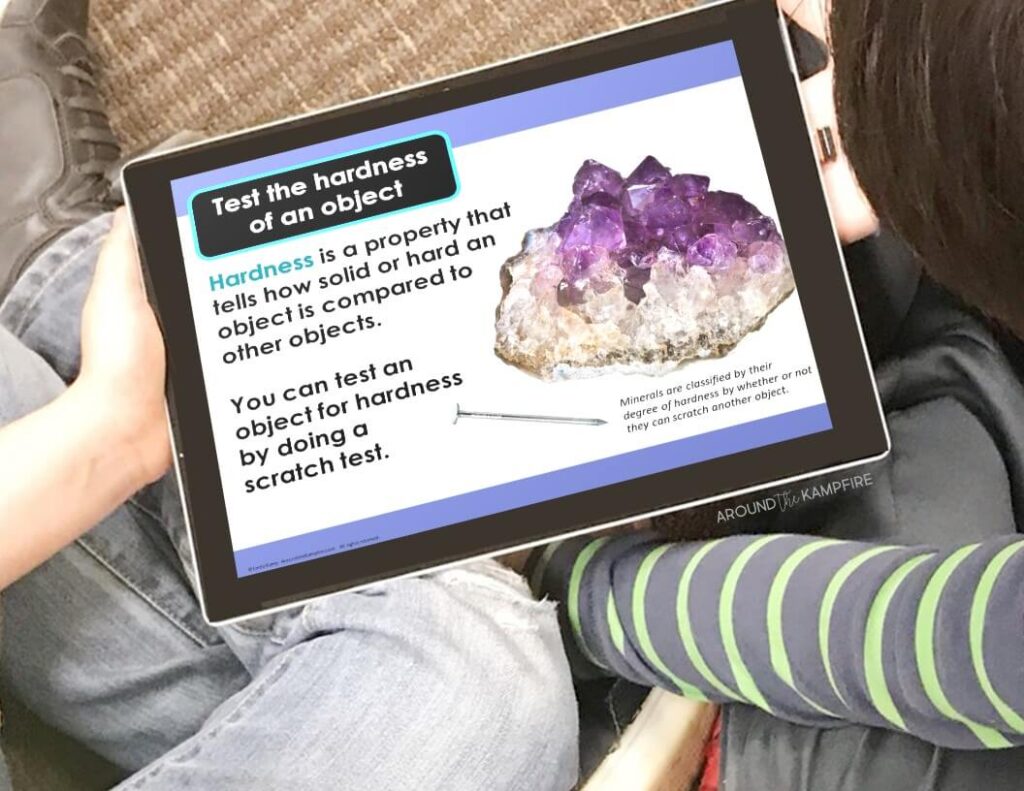
Test objects for hardness

Have students use a paperclip to do  a scratch test for hardness. To do this gather a few items made from of different materials. Some that are hard and some that are soft. Some items to include are an apple, a rubber eraser, a wooden spoon, and a rock. Have students use a paperclip to scratch the surface of each object to determine it’s hardness compared to the other objects. Next, have students then order the objects based on their degree of hardness.

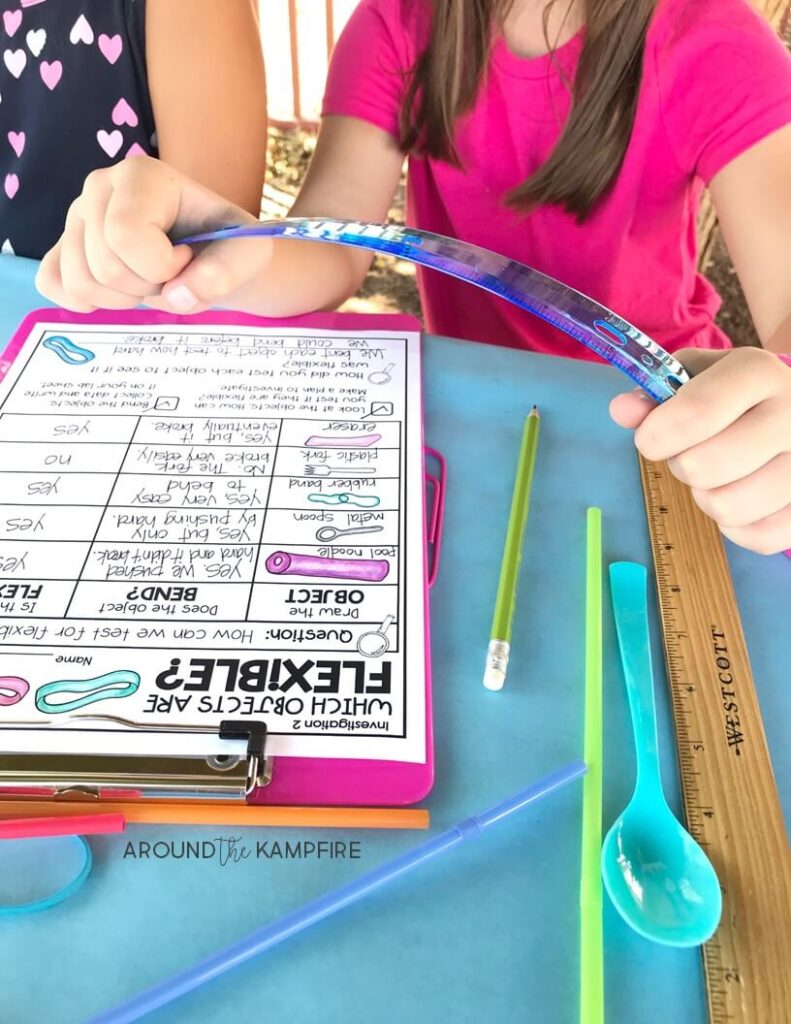
Test objects for flexibility

Try a simple flexibility experiment that uses easy to find materials for students to gently bend and test for flexibility.

Flexibility science experiment ideal for 2nd grade properties of matter learning activities.

Source: Properties of Matter 2nd Grade Science

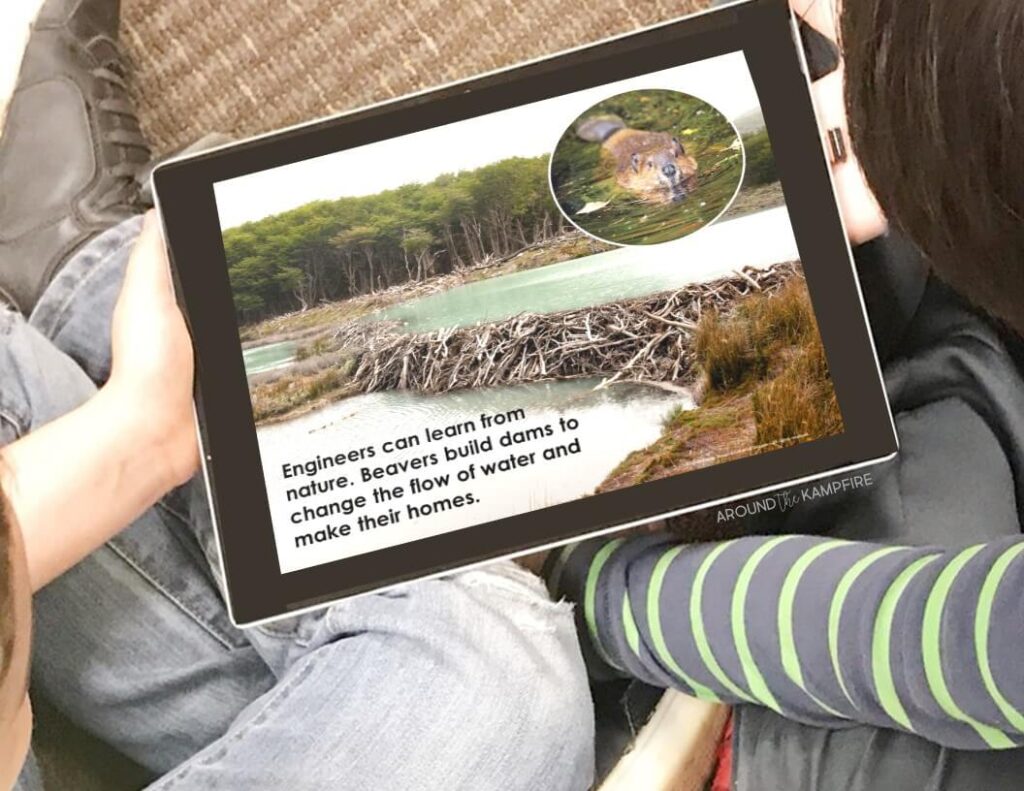
Explore how engineers are inspired by nature

Scientists and engineers often look to nature for inspiration and ideas when trying to solve problems.

Properties of matter activities and experiments for 2nd grade. Learn creative teaching ideas and fun, hands-on science activities for kids learning about solids, liquids, and gas in second grade. Engineering lesson.

This short video (:57) gives students some cool examples of  inventions inspired by nature.


Build models to solve a problem

Show students this PBS video, How Beavers Build Dams.  Discuss the purpose of this animal’s home to give it shelter from predators. Guide students to understand that it also changes the flow of water. Have students describe the purpose and properties of the materials a beaver uses.


Compare the purpose of a beaver’s dam to a man-made dam. Have students share why they think humans might want to change the flow of water. Investigate further by having students use Legos or other materials to build a model of a structure that can change the flow of water. Students can then test their models in a plastic container to determine if it works as expected.

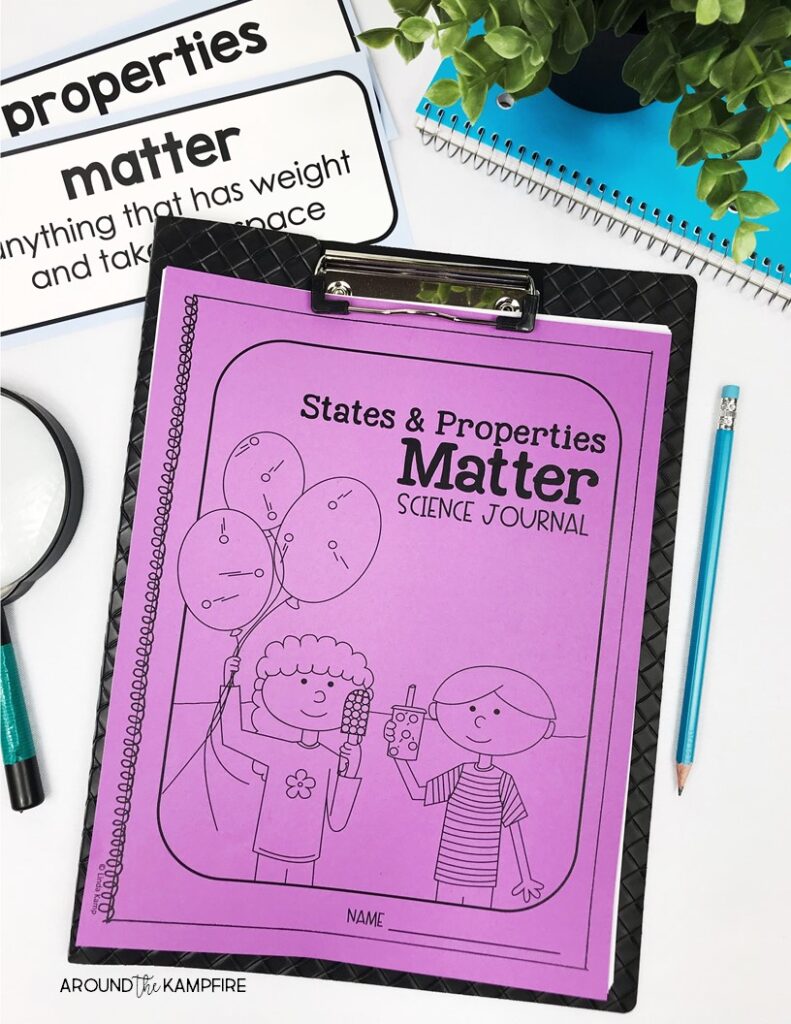
Make student science journals

Keeping a science journal gives students a place to respond and write about what they are learning in science. Science journals can be used for lesson responses, quick checks for understanding, drawing diagrams or designs, planning investigations, and as vocabulary keepers.


Properties of matter activities and experiments for 2nd grade. Learn creative teaching ideas and fun, hands-on science activities for kids learning about solids, liquids, and gas in second grade. #propertiesofmatteractivities #2ndgradescience

Source: Properties of Matter 2nd Grade Science

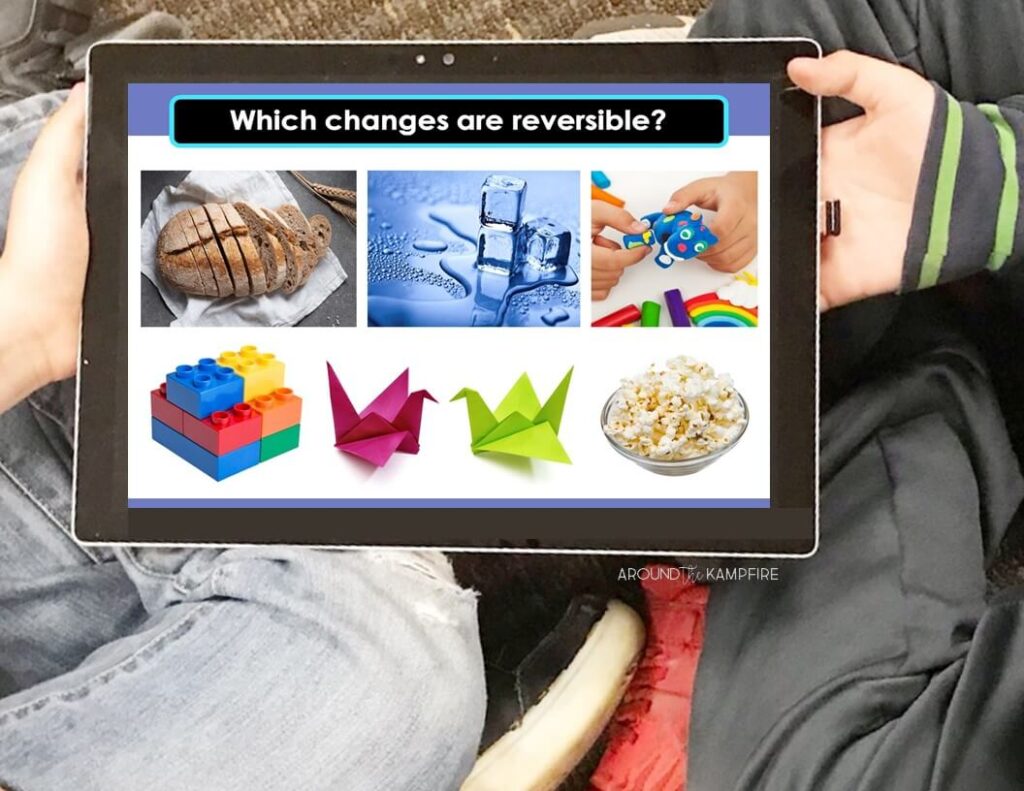
Explore reversible and irreversible changes using Play Doh

Properties of matter activities and experiments for 2nd grade. Learn creative teaching ideas and fun, hands-on science activities for kids learning about solids, liquids, and gas in second grade.

One simple way to explore changes in matter is to use Play Doh. Give students 2 small balls in 2 different colors (Dollar Tree Play Doh is great for this.). Ask students to explore ways they can change their matter (Play Doh). Students can cut, roll, and shape their Play Doh then change it back to the way it was to demonstrate a reversible change. To demonstrate an irreversible change have students mix their 2 colors together.

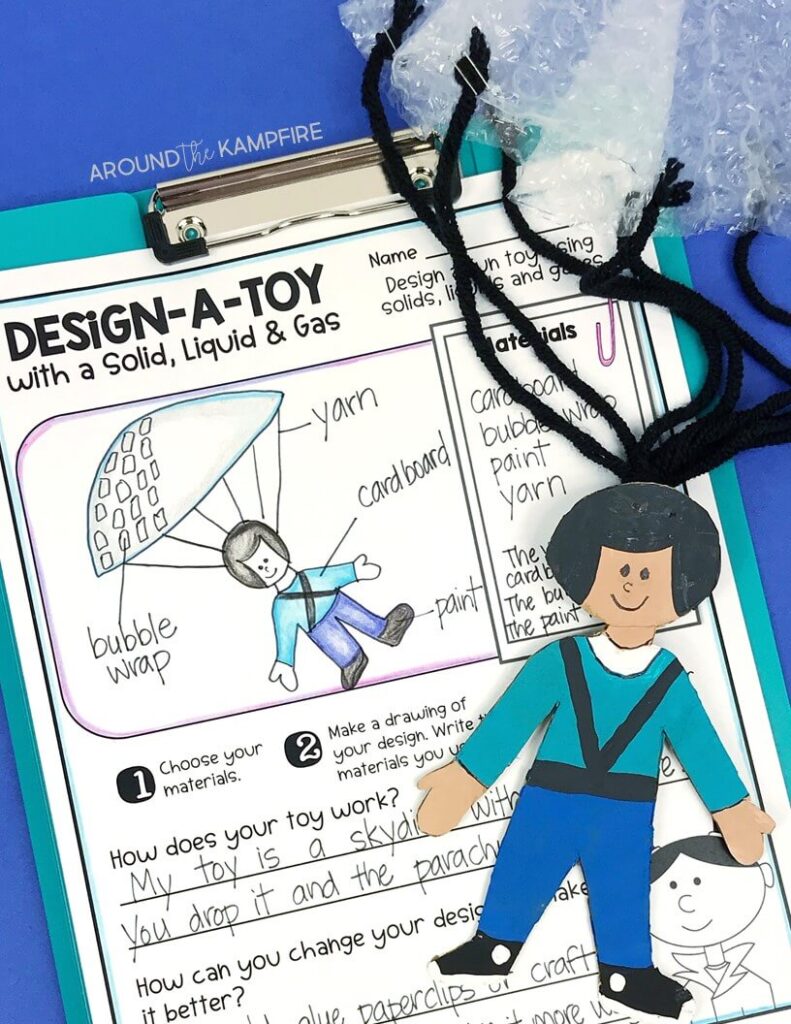
Design a toy using a solid, liquid, and gas

Challenge your students to design and build a toy using all three states of matter.

Properties of matter activities and experiments for 2nd grade. Learn creative teaching ideas and fun, hands-on science activities for second grade kids. Students design a toy using a solid, liquid, and gas.

Source: Properties of Matter 2nd Grade Science

Provide these materials or anything else you can think of for students to use.

Solids:

  • cardboard, card stock or construction paper

  • yarn, string, pipe cleaners, wiggly eyes

  • foam craft sheets, gold brad fasteners

  • paper clips

  • any other craft materials

Liquids:

  • paint

  • school glue

  • Mod Podge

Gases:

  • sponges (they are filled with air)

  • bubble wrap

  • balloons

You will be amazed at your students’ creativity!

Use science content to practice literacy skills

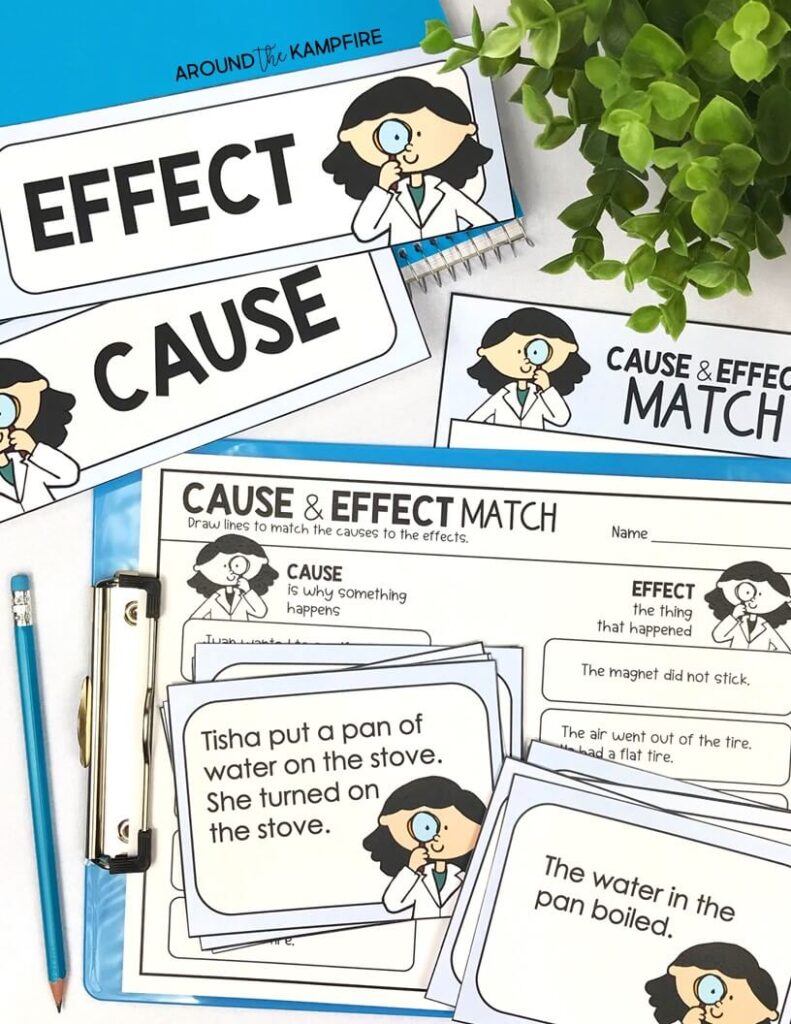
Literacy-based science centers are a great way to reinforce science content as students practice literacy skills.

Properties of matter activities and experiments for 2nd grade. Learn creative teaching ideas and fun, hands-on science activities for kids learning about solids, liquids, and gas in second grade. Causes and effects of changes in matter science center.

Source: Properties of Matter 2nd Grade Science

Scientists use many of the skills and processes we teach our students as they learn to read. Much of science content can be reinforced while practicing these skills:

Cause & Effect: Connect causes and effects to teaching students about matter and temperature.

Classifying: Have students classify and sort objects by their properties, states of matter and purpose. Groups of students can then compare how they categorized and classified their objects.

Sequencing: Scientists often take steps in a specific order to test objects and materials. They conduct investigations in a sequential order. Have students sequence steps to planning an experiment, building a model and combining matter (Think root beer floats). Add a writing element by having students explain the steps in writing.

Compare/Contrast: Challenge students to compare the properties and purpose of man-made objects to natural objects.

Source: 2nd Grade Properties of Matter Unit


All of the activities, experiments, and Power Point lessons shown in this post are part of this complete Properties of Matter unit for 2nd grade.

Properties of Matter 2nd grade science unit with lesson plans, activities, experiments and teaching Power Point.


2nd Grade Digital Science Lessons unit - Properties of Matter book cover

Click HERE for the complete printable unit and HERE for the digital version. Save on the Print + Digital Bundle.

I hope you’ll try some of these properties of matter activities with your second grade scientists. Be sure to pin this post for later so you have it when you plan!

Properties of Matter Activities and Experiments for Second Grade Science

You may also enjoy the science activities in these posts:

Back to School Science Activities

Teaching ideas and beginning of the year science activities for 2nd and 3rd grade.

Second Grade Habitats & Ecosystems STEM Activities


Habitats activities for second grade

Landforms & Earth Changes Activities & Experiments

Milk & Cookies and the Scientific Method

A simple and fun science experiment using milk and cookies to explore buoyancy. Find easy science activities for teaching the scientific method in a way that kids love! Read more about 2nd and 3rd grade science.

Plant Life Cycle Activities

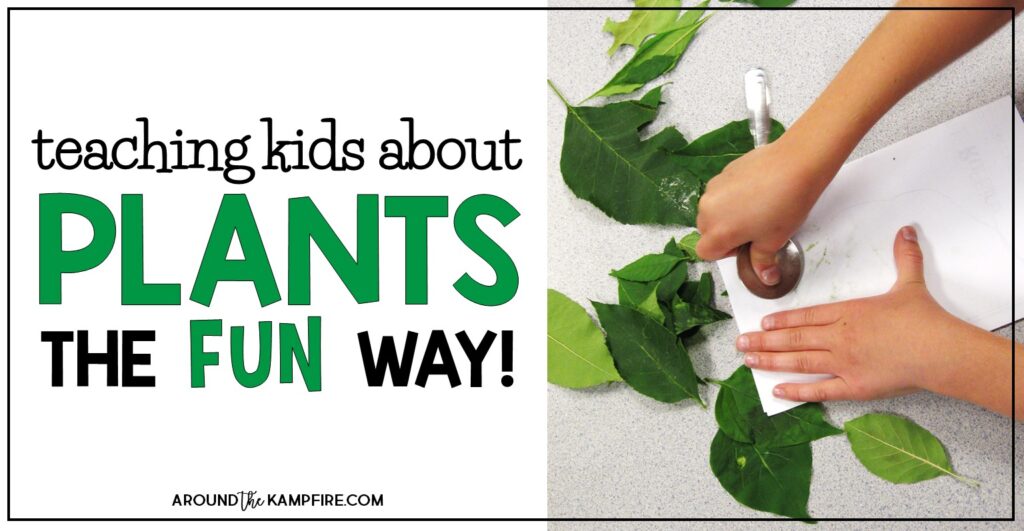
Plant life cycle activities: Find creative, hands-on plant life cycle activities for teaching kids about chlorophyll, pollination, germination, and seed dispersal the fun way! Ideal for 1st, 2nd, and 3rd graders learning about the life cycle of plants.

9 Activities to Teach the Engineering Design Process

article cover-activities to teach the engineering design process for kids

Happy teaching!

Share this:

Filed Under: Popular PostsScience Tagged With: properties of mattersciencescience experimentssecond grade science

Yearlong assessmentsFree Grammar ToolkitAssess all second grade grammar and language standards with this yearlong assessment tool!Send me the toolkit!

YOU MAY ALSO ENJOY THESE POSTS

Plant life cycle activities: Hands-on science for kids. Find creative, hands-on ideas for teaching kids about chlorophyll, pollination, germination, and seed dispersal that get students thinking, writing and having fun! Ideal for 1st, 2nd, and 3rd graders learning about the life cycle of plants.

Plant Life Cycle Activities-Fun, Hands-on Science for Kids

10 Hands-On Activities for Teaching Earth Changes & Landforms

how to teach science virtually article cover

How to Teach Science in a Virtual Classroom